
Have you ever walked into a makeup aisle and thought “Wow there’s so many products I’ve never seen or used before”?
Don’t worry! If you’re like me and was introduced late to makeup, it can feel very overwhelming. It may feel especially hard when looking for makeup for beginners. It’s easy to feel out of the loop and wonder how you’ll keep up with the fast-moving and merciless cycle of beauty trends. To make everything less complicated, it’s important to start with the basics and know a little bit about the history of makeup.
According to a research study done by Britannica, makeup has existed since 4000 BCE with rouge, Kohl and powders. All products were sourced from natural found minerals and used in religious manners to enhance aspects of the face and body or to signify wealth, prestige, and status.
In this modern age, we’ve moved past using crushed bugs and minerals into a world where cruelty-free makeup also exists. A wider range of colors and additional makeup products are advertised to help a person enhance their natural beauty instead of using it for religious, status or performance related reasons.
I remember when I first started, I definitely had my fair share of wrong undertone concealers and wrong makeup finishes. Making mistakes along the way is unavoidable, however, I’m here today to share with you how to easily increase your chances of finding the best and most effective products to get you through your day!
The first things to focus on should be finding the right products and figuring out how to apply them in a way that best suits you. This step-by-step makeup guide for beginners will give you an effortless and easy-to-follow tutorial on how to apply makeup from prepping to setting.
There’s a whole new world of glitz and glamour out there; let this guide be your first step to conquering it!
‘’This article contains affiliate links to Amazon. As an Amazon Associate, I earn from qualifying purchases. This means that if you click on a link and make a purchase, I may receive a small commission at no extra cost to you. This helps support the site and allows me to continue providing helpful content. Thank you for your support!’’
Step 1: Prepping Your Skin

Skincare has been a growing trend within the recent years. Korean skincare – specifically – has been all the rage as well as techniques including layering and enhancing moisture levels. According to an article from Global Edge study, the influence of Korean skincare is a global phenomenon that reflects higher levels of hygiene while appealing to westerners for it’s gentler and milder ingredients list.
“Well we’re talking about makeup for beginners so why is skincare relevant?”
The point that I’m stressing is that there now an ample selection of skincare to choose from. Skincare helps to set the tone for the rest of what makeup you choose to layer on afterwards which is why choosing the right products for your skin type and concern is crucial.
My recommendation is to start small and simple. Build on the basics of what all skincare routines need: cleanser, moisturizer, sunscreen, primer. Just like how you may be picking up simple makeup for beginners, start out with simple skincare as well.
I still have my handy favorites from the drugstores lining my shelves. Take advantage of your drugstore to find what suits your skin best before investing in more quality and luxury skincare. Here is a list of how and when to use each product:
- Cleansing – Before applying any type of makeup product to your face, it’s essential to have a fresh and clean canvas. Use your preferred facial cleanser and wash thoroughly.
- Moisturizing – After cleansing, hydrate your face with a facial moisturizer. Hydrating your skin prior to applying makeup is key for a smooth and satisfying end result.
- Sunscreen – After applying your moisturizer, apply a layer of sunscreen to keep your skin barrier from getting damaged from UV rays. This helps add an extra layer of moisture back into your skin before you apply primer and makeup
- Primer – The final step to prep your skin is to apply a primer. Primer creates a flawless and even base for makeup to be applied to. It can also help your makeup stay in good condition for a long period of time.
Now that we understand the basic formula for skin prep, let’s get into creating an effortless base routine for makeup for beginners.
You’ll Also Love: Glass Skin Secrets: The 10 Easy Korean Skincare Routine That Works
Step 2: Base Makeup (Flawless Face Routine)
- Foundation vs. BB Cream – After your skin is nice and prepped, apply either foundation or BB cream. If you’re wondering what the difference is, it’s pretty simple. Foundation provides heavier and fuller coverage, while BB cream appears lighter and more natural on your skin. It all depends on what kind of look you’re going for!
Fun fact: Foundations originated from all parts of the world. Famous influences included Queen Elizabeth who mixed white lead and vinegar to create a white paste to apply onto the skin to impose a white canvas – which was the ideal beauty standard during the Middle Ages (Sheenmagazine). Though it was not the safest formulation for foundations, makeup has come a long way.
I would advise beginners to stick to lighter coverage foundations or bb creams first because ‘less is more’. I remember that I started with natural makeup first, focusing only on essential products for makeup which helped me to build confidence later down the road for more complex makeup looks. I also didn’t want to splurge and end up devastating my bank account on products that didn’t sit well with my skin or ones that didn’t have the right undertone.
The more accessible the product – the better, especially when purchasing makeup for beginners.
- How to Find Your Perfect Shade – Finding the right foundation or BB cream shade is extremely important. You want a shade that will compliment your skin tone and even out your complexion. Keeping things like your skin type and undertone in consideration, begin experimenting with different shades and brands. Sooner or later, you will find the shade that speaks to you and matches like a second skin.
Stick to what you know best, which is what your mom probably uses – drugstore products. They are the most forgiving financially and they can still include a wide range of selection – especially makeup for beginners. Some of the most well-loved brands with a variety in shades includes the Maybelline Fit Me Foundation line that caters to matte and dewy finishes.
If you have trouble finding your shade, always bring along a friend or ask a sales clerk to help you out. There is no shame in asking. I know I felt awkward at first but it helped save me another trip to the drugstore.
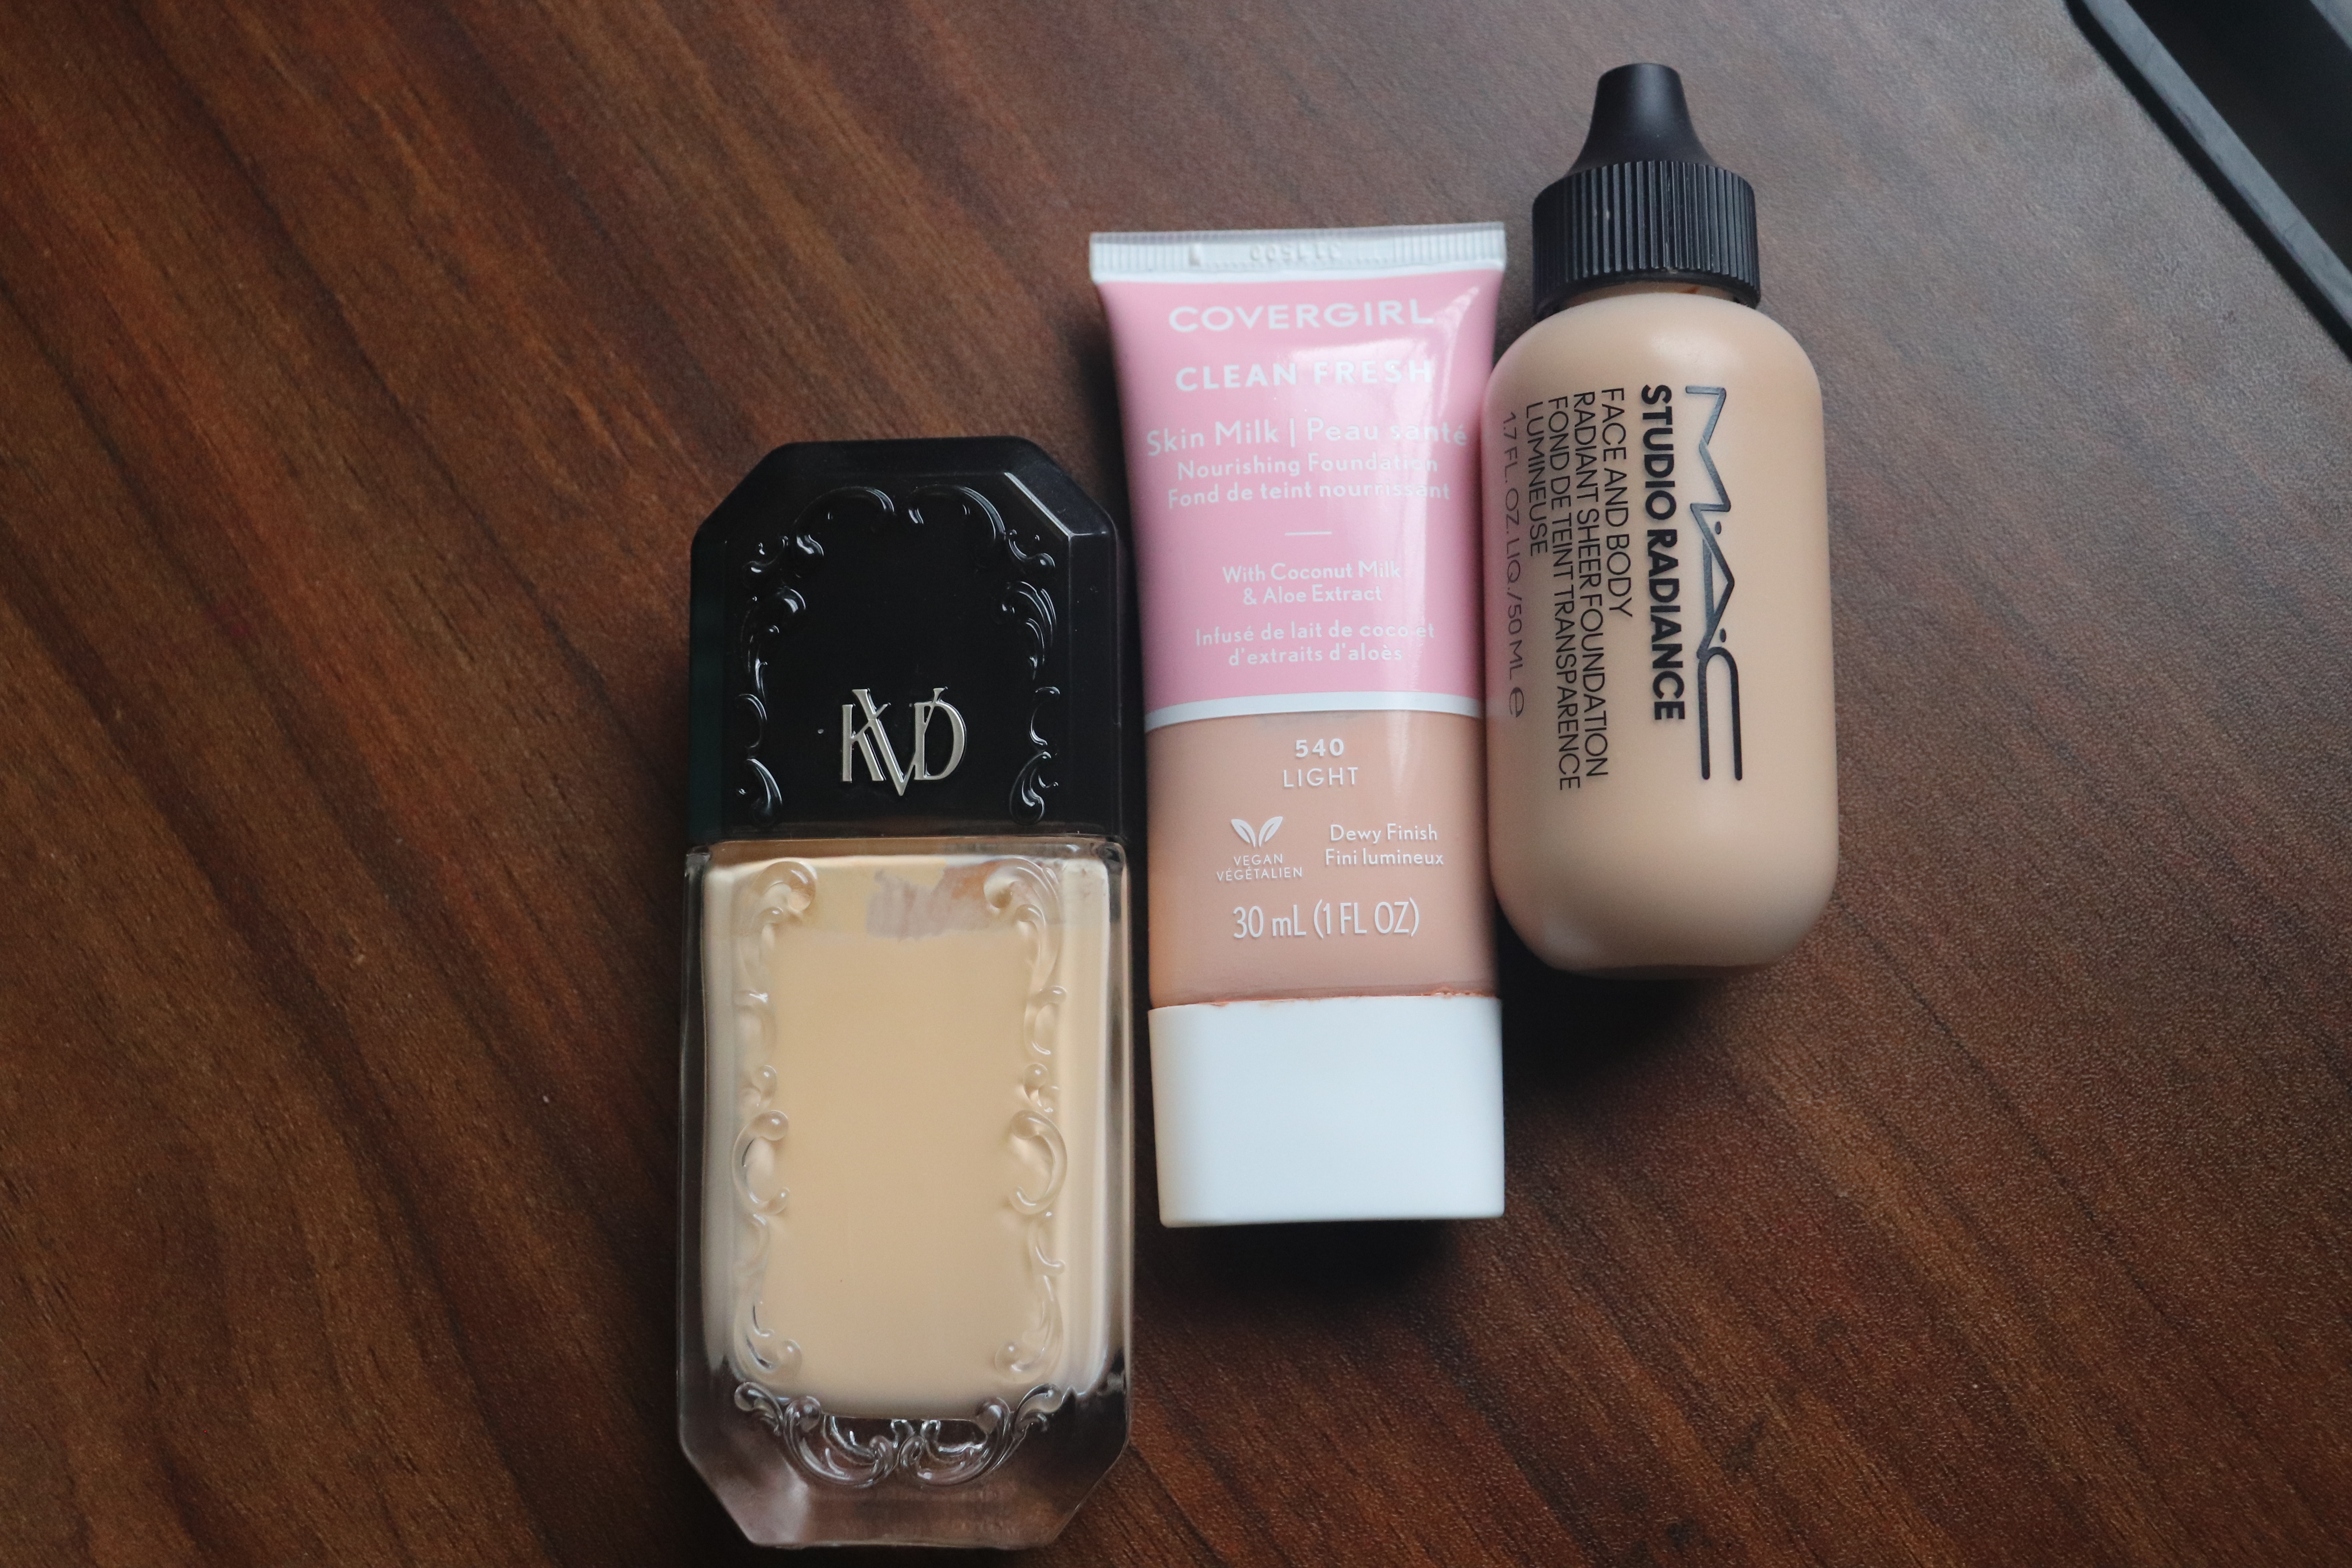
Best pick: Covergirl Clean Fresh Nourishing Skin Tint
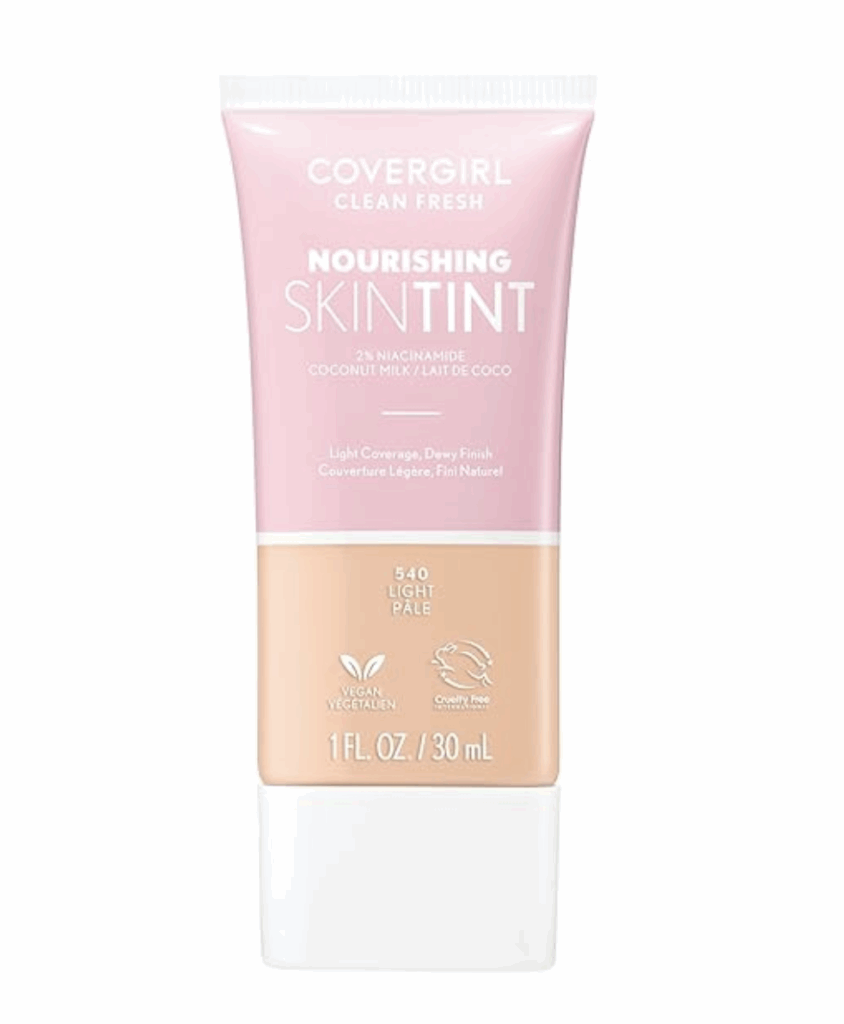
This product is one of my favorites because of it’s affordability and it’s effectiveness. I have a hard time finding my shade most of the time but this product’s shade selections is forgiving because it applies as a tint, meaning the color doesn’t have to be an exact match.
After the first couple trials of wearing this outside, I loved how it enhanced my skin while concealing the texture of it. The smell is very light and clean – almost like coconuts. What I enjoy most about is it’s watery texture which makes it extremely easy to blend into the skin.
The only downside of this product is the tip where the product comes out from. It is not 100% leak-proof which can be troubling when throwing it in your traveling bag for traveling.
I have oily-skin and this is best used in areas where I avoid my T-zone. If you are an oily girl, you may want to powder every so often with this product. It has a natural sheen.
For people who enjoy a lightweight and flawless natural canvas, this product will serve you well. Sitting pretty at it’s current price point and accessibility, I would recommend for anyone to try this out if you are into the ‘clean-girl’ makeup look or if you’re simply experimenting with makeup for beginners.
- Application Techniques – To apply your base, you can use a brush, sponge, or even your fingers. Brushes generally give the most coverage, while sponges give medium coverage, and fingers result in the most natural look. However, any of the three would work fine! Just use what you have!
If you’re still unsure about application, just remember that sponges and brushes should be done in dabbing motions. With your fingers, you want to gently pad and rub it in. When I started applying concealer back in high-school, our fingers were predominantly the main tool for most makeup looks so don’t be shy if that’s all you got!
Now that you have an effortless and flawless base, let’s discuss some helpful tips to diminish those dark circles and blemishes!
Step 3: Concealing & Brightening

- How to Use Concealer to Cover Blemishes & Dark Circles – After applying the base, concealer is used to cover up any remaining blemishes and dark circles. These blemishes can be stubborn and hard to mask, but applying a shade of concealer that is slightly lighter than your skin tone should do the trick! Apply the concealer to the desired area and blend it with a brush, sponge, or your fingers.
My personal tip is to pick a more yellow-based concealer that’s a shade lighter than your foundation for your under eyes. This way, it helps to brighten that area up. Especially for my darker skin girls, consider color correcting.
My longstanding favorite concealers that I always fall back on are the ones in the drugstores. Not only are they perfect makeup for beginners, but people of all ages and those with different levels of makeup.
Best pick: L.A Girl Pro Concealer
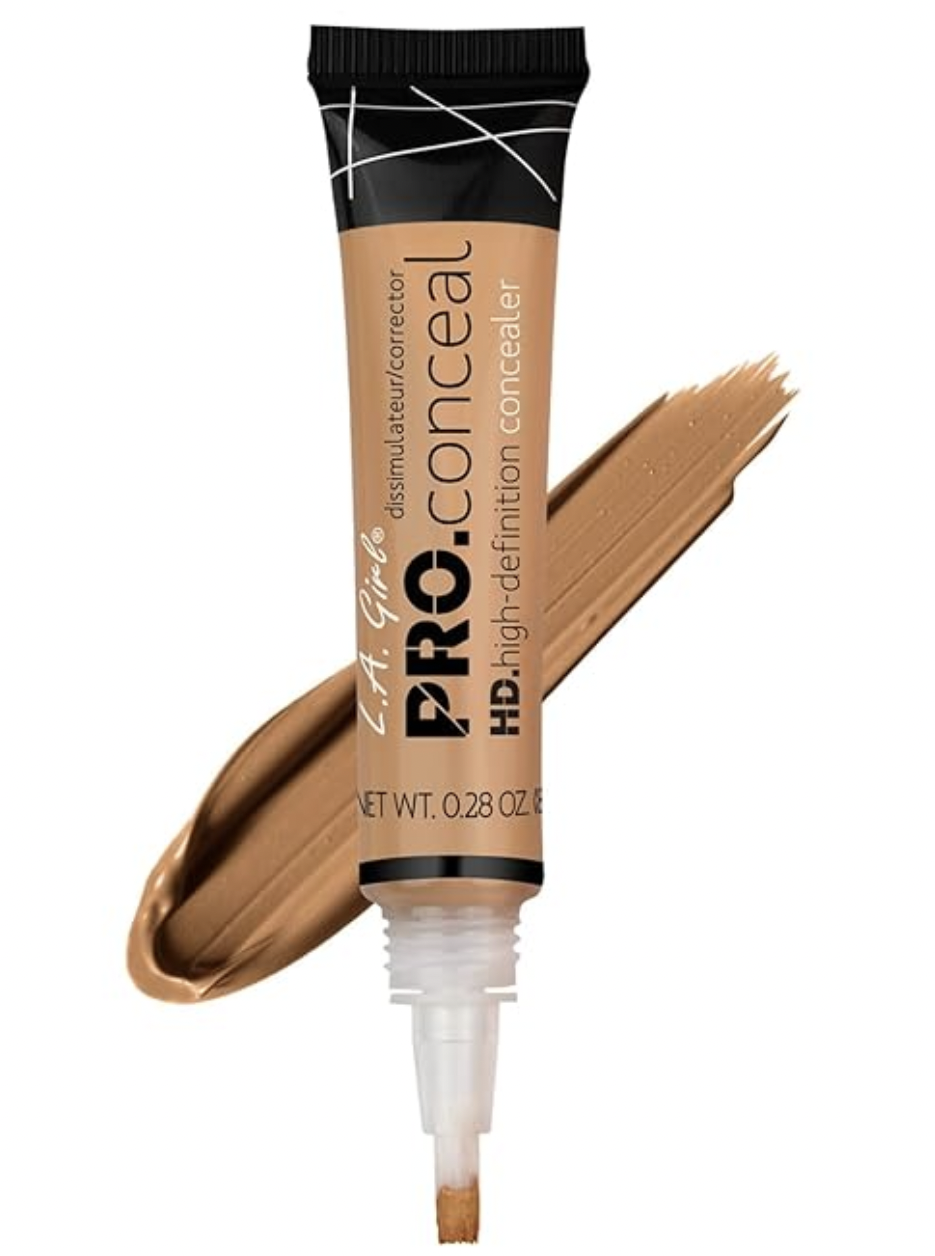
This was one the first concealers that I was able to grab at the drugstore while in college. The price and shade range really drew me in so I bought a couple different shades to try.
What I really like about this produce is that it has a build-able coverage. For my oily-skin users, this is great because it’s mattifying and long-lasting without settling into your crease lines.
I do wish that the applicator tip was a dog foot applicator instead of a brush. Pressing the bottle for the product to come out can become a hassle if you’re in a rush.
For girls who are looking for a light coverage concealer, use this product sparingly. For those who have sensitive or dry skin, spot test this product first.
Being set at the price it is, it’s incredibly worth it to try it out once for yourself to see how effortless it can make your makeup.
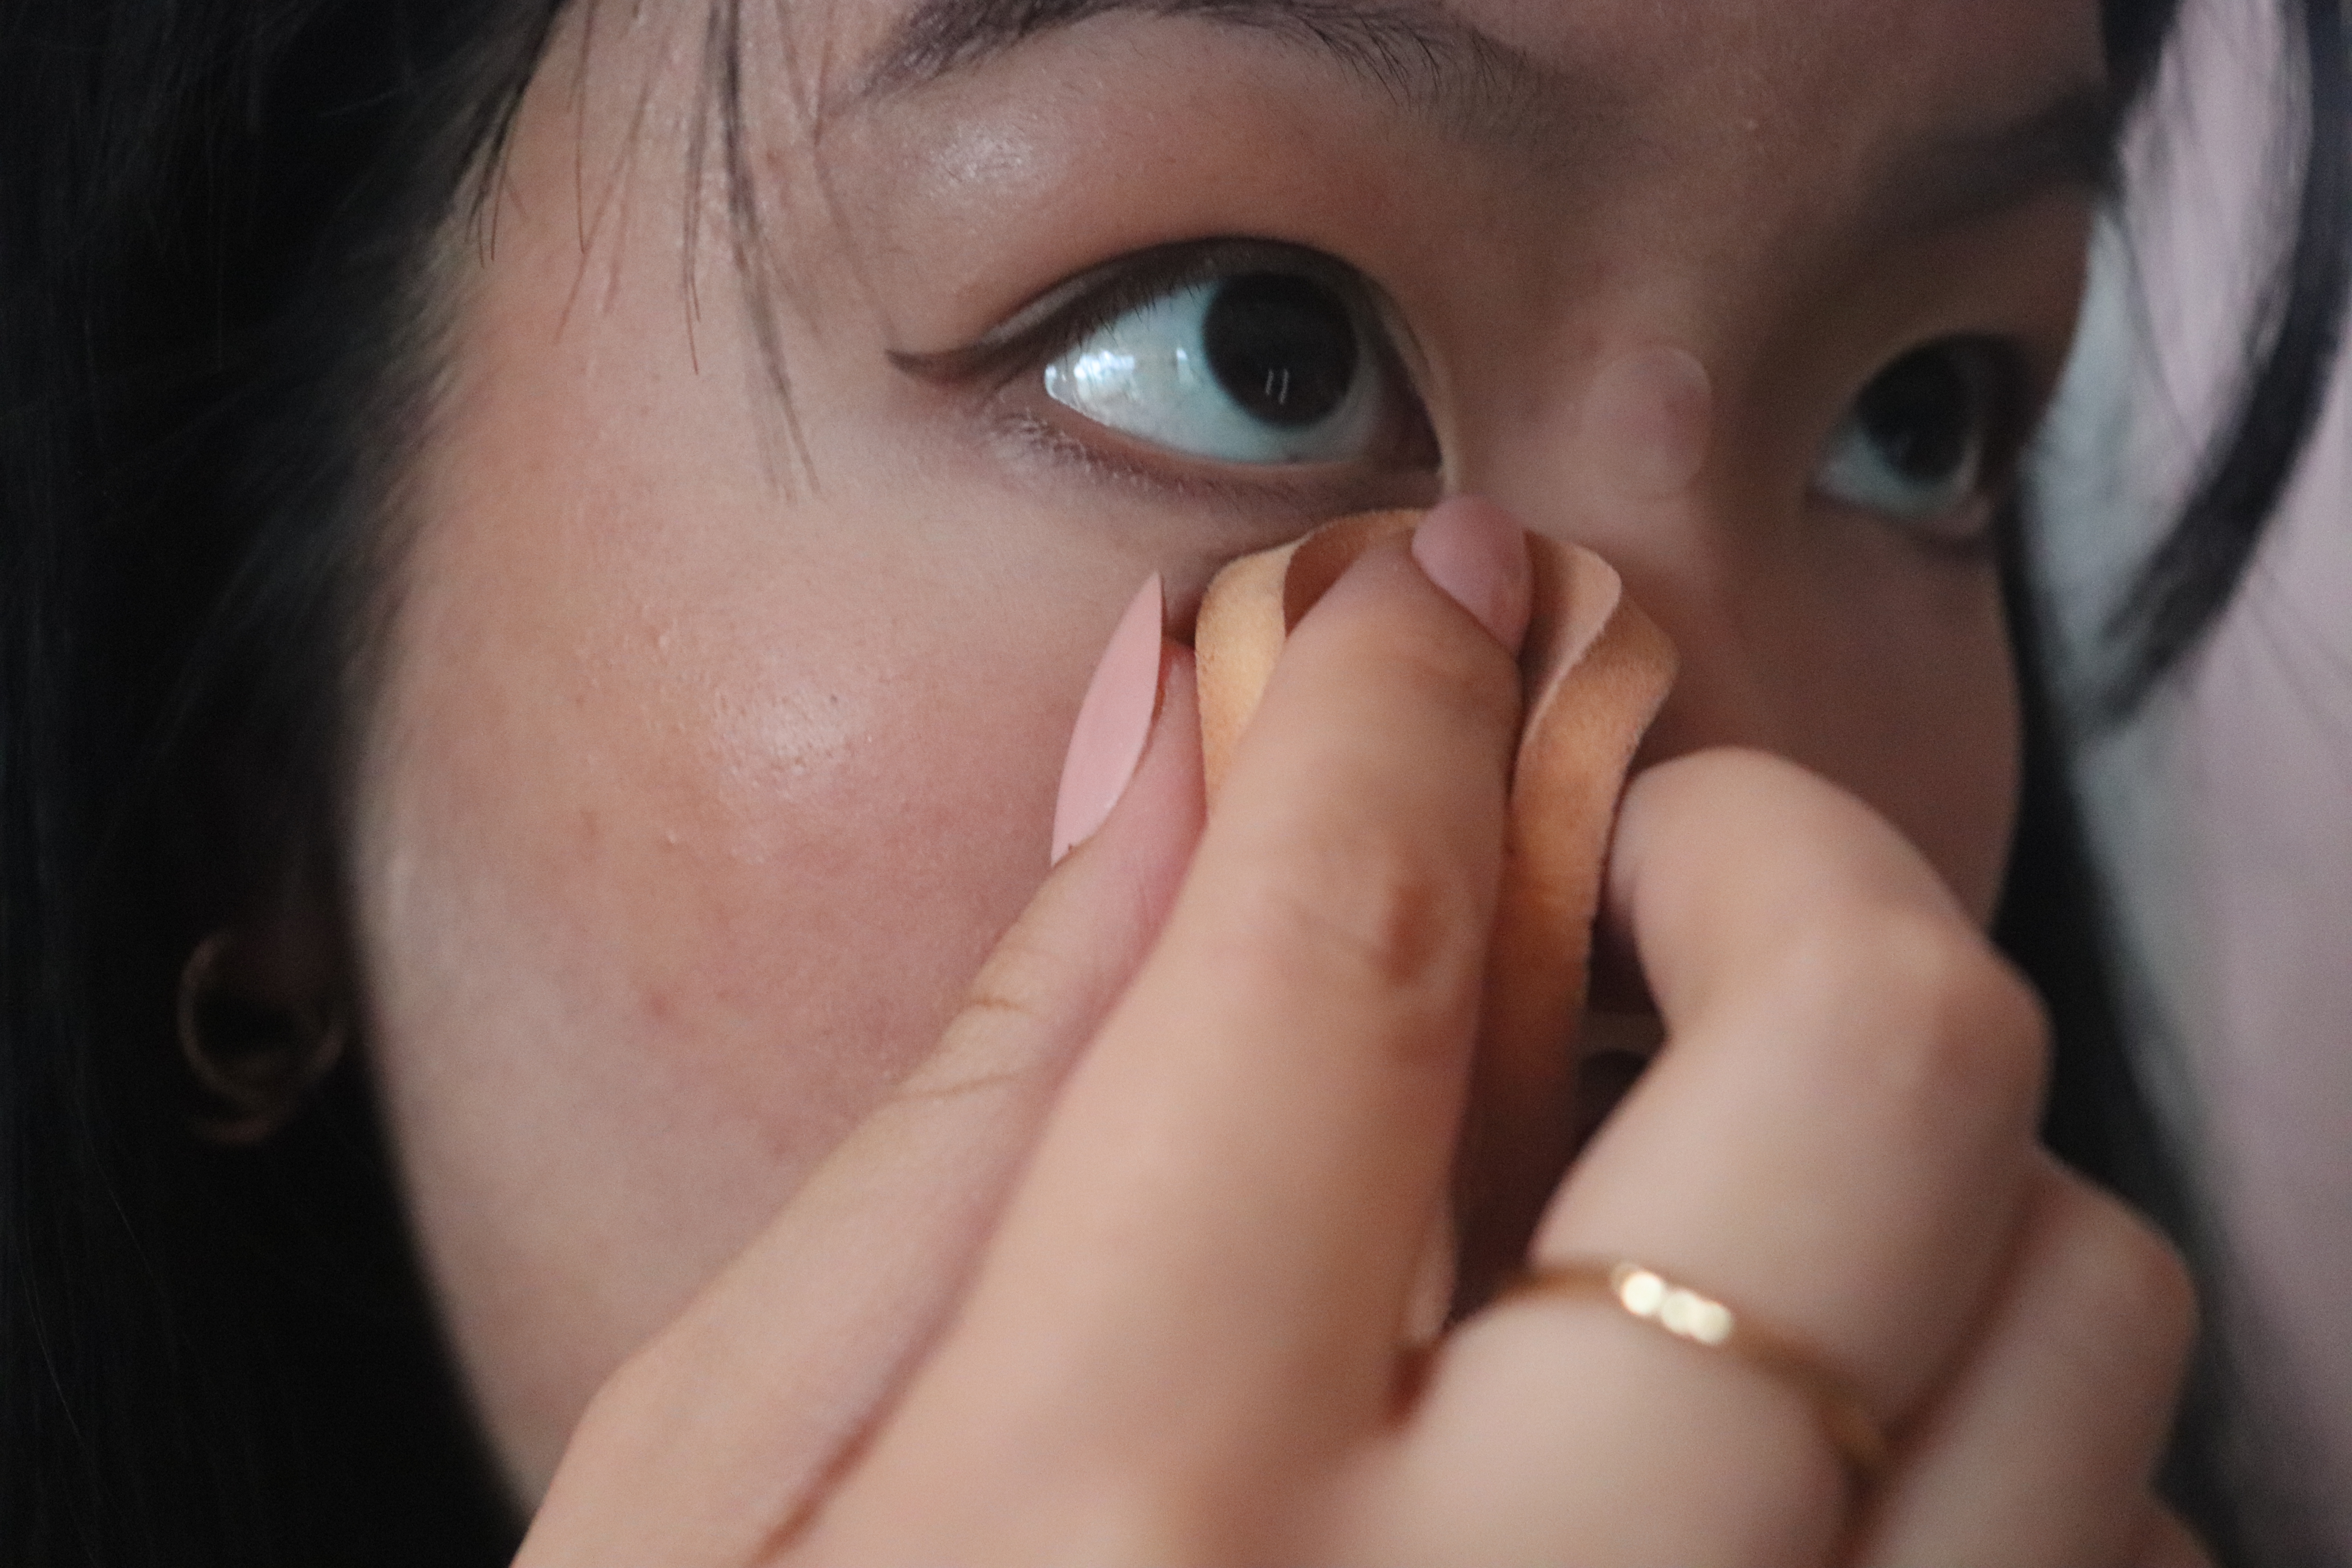
- Blending Tips for a Natural Finish – When blending your concealer, remember to be gentle and handle your skin with care, especially when it comes to sensitive areas like under your eyes. Dab the skin in repeated motions until it appears to be completely absorbed.
I used to believe that caking on a thick layer of product would provide me with the most coverage, however, that’s not entirely true after I learned this fascinating tip from a makeup professional. If you have a stubborn acne or scar you would like to cover, use a light fluffy brush to dab a bit of it onto the blemish, and then use a flat brush to blend around the edges. I can say with certainty that this trick works wonders at providing coverage while still looking natural.
Now that you know how and where to apply your concealer, let’s get started on how to easily secure your makeup in place all day!
Step 4: Setting Everything in Place
Fun fact: Powders have existed since 2000-1200 BC, according to archeological findings. Though they might have been made from lead powders back then, they were intended to serve several beauty purposes: white face powder, eyeliner, blush, lipstick, etc. These products were mixed with solubles to create different viscosity during the application process.
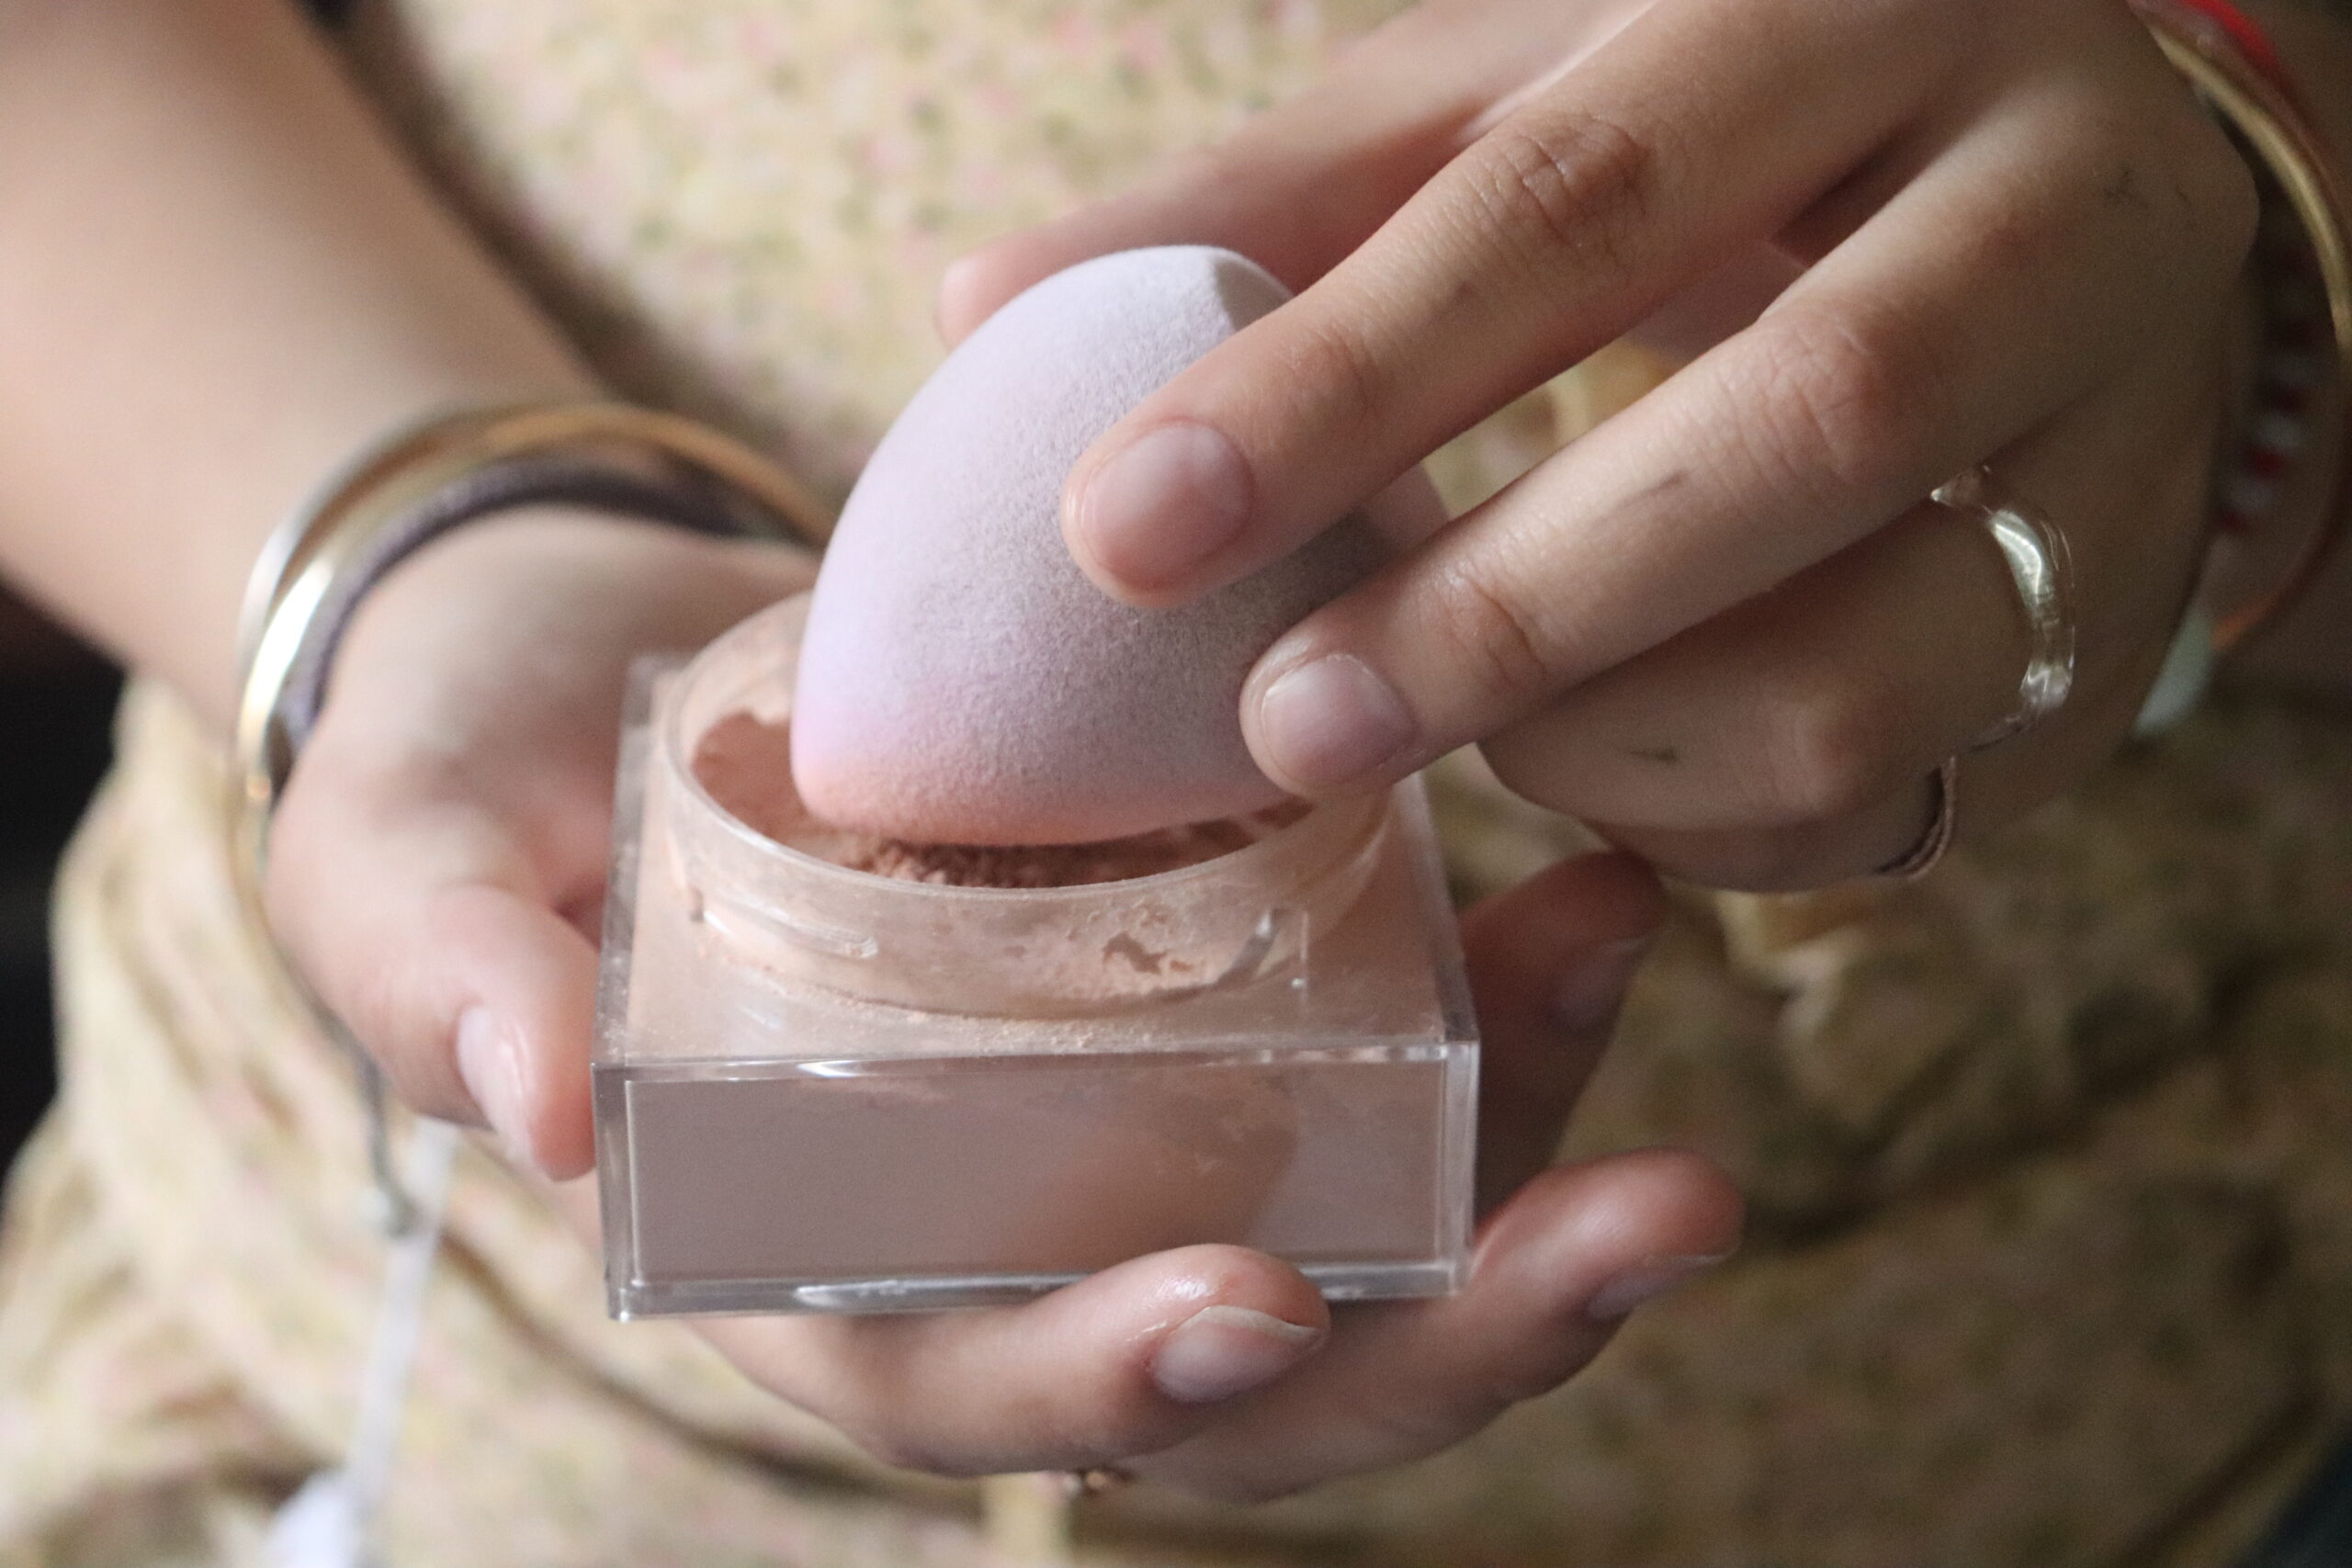
- Why Setting Powder is Important – Setting powder is considered to be a necessity by all, but I cannot stress its importance. Setting powder is like a mask that locks your makeup in place and highlights your perfect skin. Especially for those who are dipping their toes into makeup, powder helps get rid of the excess oils on your skin and prevents potential smudging and creasing.
For my oily skin girls, setting powder is your best friend. For those who want your makeup to last through a long event, the night or even a hot yoga lesson, make sure you try powder. Even if you have combination to dry skin, a little powder can do the trick.
For those who are trying to make it last through longer hours and more excessive heat exposure, I highly recommend you try the baking technique. This involves loading a brush or sponge up with a thick layer of powder and dabbing it firmly onto your t-zone. Leave the powder to sit for a couple minutes before dusting off the remains for a long-lasting effect.
“Okay, but I heard there’s a thing called loose and pressed powder. What’s the difference?”
- Loose Powder vs. Pressed Powder – Powder generally comes in two forms–pressed and loose. Pressed powder is packaged more compactly and is great for being on the go. It’s usually used for touch-ups or to cover any last-minute blemishes. On the other hand, loose powder is more lightweight and sheer, being used as part of the setting process to give a flawless finish.
Best pick: Morphe Bake and Set Setting Powder
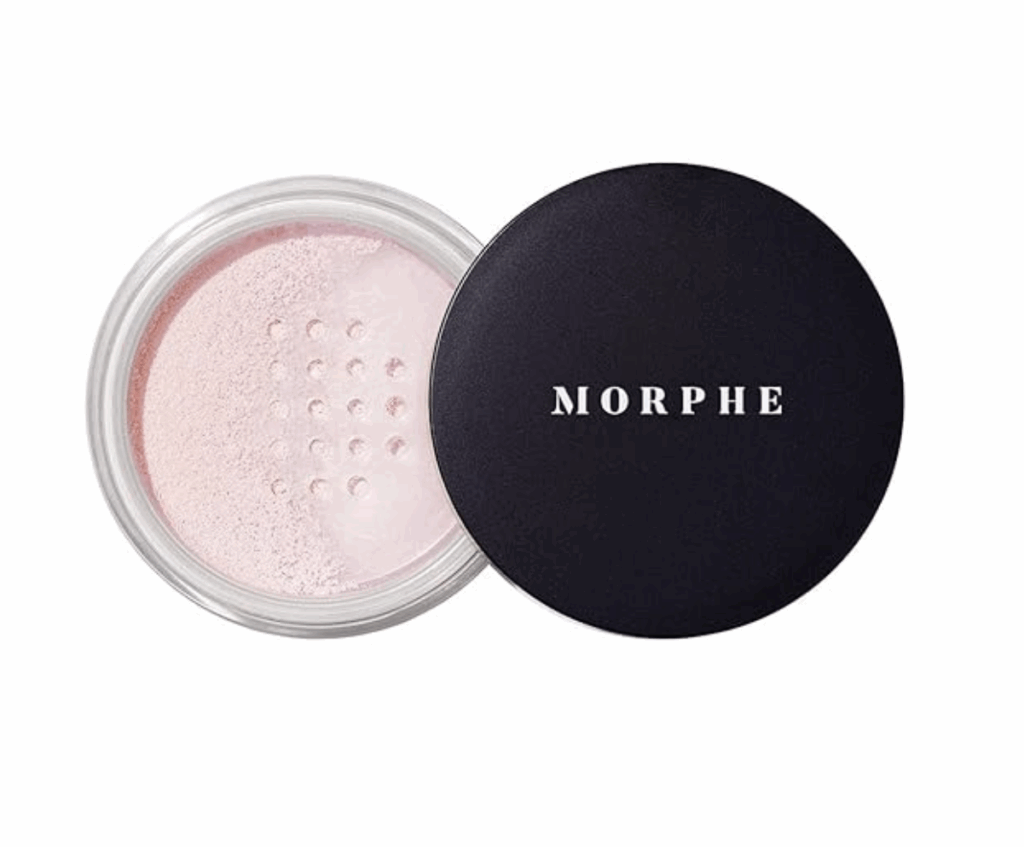
This powder was gifted to me by a close friend and I’ve been repurchasing it for multiple reasons. Let me explain why.
The finer the powder is, the easier it is to work with. This is my experience with this powder. When it comes to matching powder shades with your skin tone, it can get tricky. The best powder colors to get if you’re unsure is either translucent or pink shade because they help to enhance your concealer.
I grab this product most often because it helps to reduce the look of my pores and oils. I don’t feel cakey throughout the day as well.
I do wish that this powder came with a safety net to catch excess powder if it rolls around in your makeup bag.
For being a product that can are ready for purchase online or at Ulta, it’s a great beginner-friendly product to start. The price is very reasonable and it has a good quantity of product that has lasted me over two seasons before refills are necessary.
I would recommend all users to give this product a whirl because it’s also talc-free, meaning that it’s less likely to cause breakouts and cause flared skin.
If loose powders like these scare you, I recommend using a pressed powder such as Maybelline Fit me Matte + Poreless Pressed Face Powder.
For those of you who are scared of loose powder flying everywhere, this is another favorite of mines because it’s pressed. Pressed formulations usually come with a hint of color to help maximize coverage and it’s great to travel with. I also keep one in my purse.
Similar to the product above, this is a cult favorite not only by me but others because it’s affordable and inexpensive. It works great if you lean towards combination and oily skin types like myself.
I do wish the packaging is more durable in case it moves around in your purse – like how it does with mines.
For people with dry or sensitive skin, I recommend testing this product lightly first in case it settles into fine lines.
For the accessibility and price of this product, it’s a great choice for those who are starting their makeup journey or for those who simply want a compact powder for on-the-go.
For any powders, my best tip for using makeup for beginners is to try both powders is to do a light and even amount. Make sure that you press the excess onto the back of your hand first to even out the layer of powder before pressing it onto your face. I find that this technique renders the best results for me and my girlfriends. If you’re looking for makeup for beginners, make sure you bring around a compact powder for touch-ups on the go!
Now – the most fascinating part. The eye makeup!
Step 5: Eye Makeup for Beginners

Fun fact: According to an article from HyperAllergic, From Ancient Egypt, Kohl was mixed with liquids to produce thick dark pigments to paint on the face to create brows . Egyptians favored dark bold brows. If that sounds familiar to an era of makeup, know that makeup styles are continuously cycling through time because history repeats itself. Isn’t that neat?
- How to Fill in Your Brows Naturally – In my experience, eyebrows are one of the hardest parts of the process. It’s too easy to end up with a blocky and rigid shape that stands out in entirely the wrong way. The secret to getting your eyebrows right is to avoid harsh angles and harsh colors. Using a brow pencil that isn’t too light or too dark to easily fill in your brows. Start in the middle and work your way to the ends. Use sparse and thin strokes for a natural look. Getting your eyebrows threaded or shaped prior would help in achieving a cleaner look, but it isn’t a must.
Top pick: E.L.F Instant Lift Brow Pencil
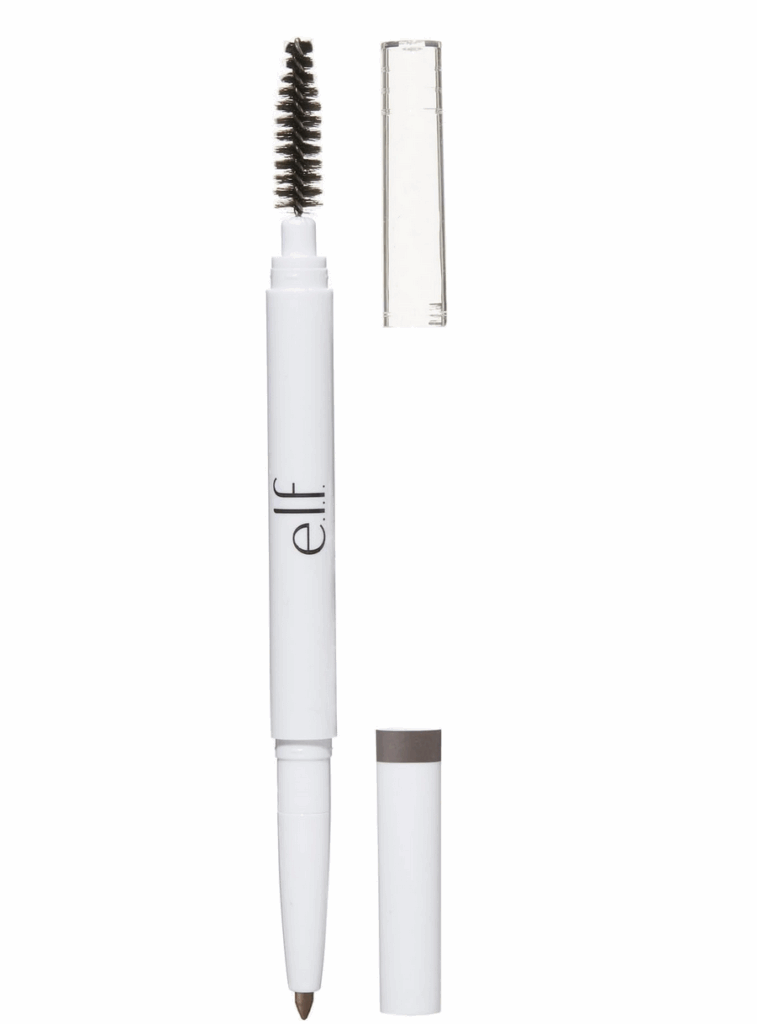
I initially started with any brown eyeshadow powders I had to fill in my brows but it was harder to control the pigment because it was loose. My mom bought me this at the end of high-school for me to use and it’s a classic staple I’ve introduced to beginners like my younger sister.
Like most pencils, the control and precision you get with each stroke is very manageable. I like that they have various undertones to work with and it comes dual ended with a brush to even out the product.
However, like most retractable pencils, it is prone to breaking. Have a light hand when using it or else it will snap. I also know that with the longer you own one, the more likely it will start drying out – leaving a less smooth application to follow and possible cracking.
This product is a great place to start if you are still figuring out what brow shape suits you the most or how much to fill in because it’s easy to wipe off. However, if you tend to like products that have a strong staying power, this might not be the one for you.
For the price and easy accessibility, this product is one of the highest on the list to purchase for makeup for beginners for those reasons.
Moving onto eyeshadows, their history is quite similar to previous makeup products as well.
Fun fact: According from an article from BBC, with various minerals and powders mixed in with oil, crushed pigment were derived from crushed bugs and plants. Bright colors were initially favored up until the mid 1950s where a ‘natural’ look became to come into fashion.
- Simple Eyeshadow Techniques for Everyday Wear – You can really get creative with eyeshadow, which is why it’s one of my favorite products to experiment with. There are a lot of fun things you can do with eyeshadow, like match it to your outfit or use it to give your face a pop of color. But when it comes to everyday makeup, the smoky and saturated looks can be overwhelming. To start, I recommend finding a palette with muted colors like browns and beiges. When applying, use a thin layer and neutral colors. The inner corner of your eye should be lighter, but you can go darker as you approach your brow bone.
Top pick: Morphe 9T Neutral Territory Artistry Palette
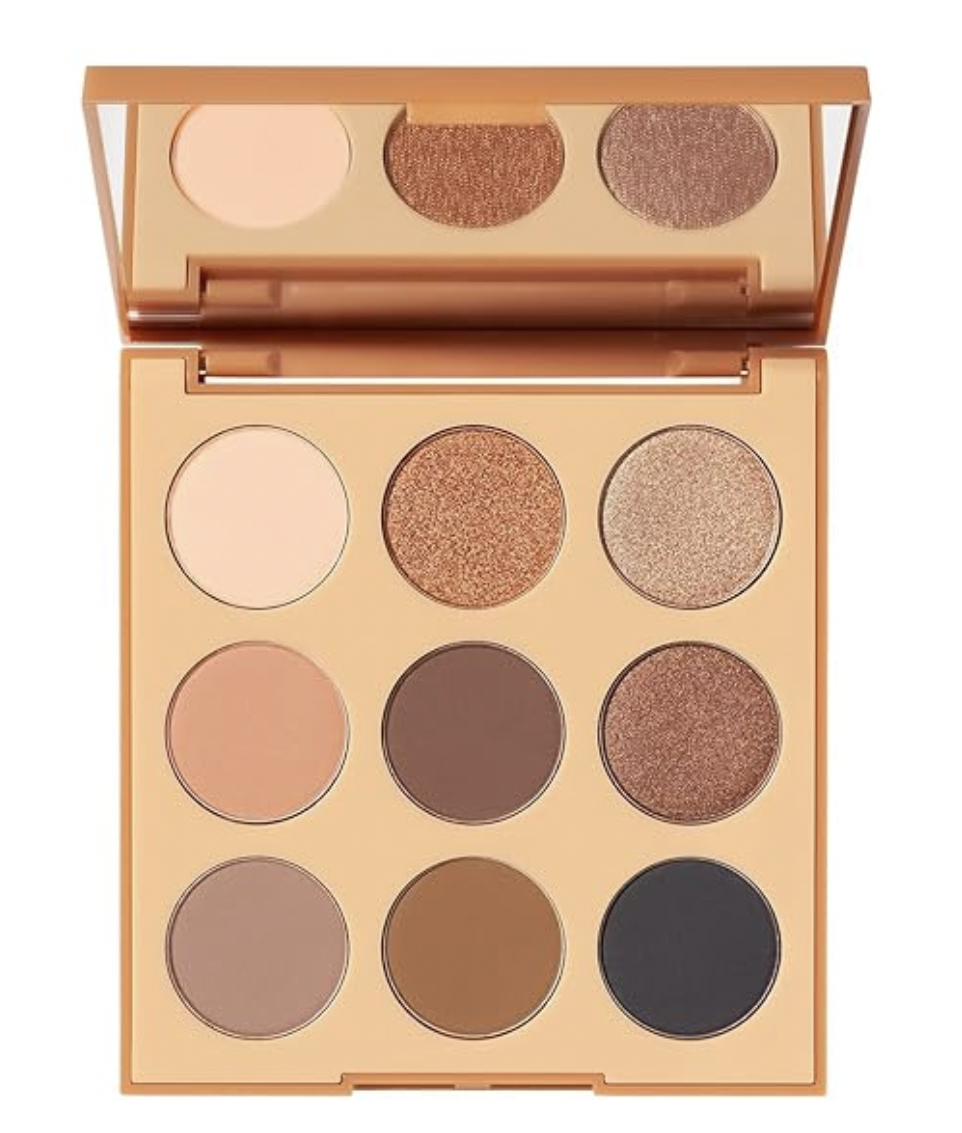
I picked up this eyeshadow palette from Ulta Beauty because it had a range of colors that are great for everyday wear. I liked how it had minimal sparkle shades in case I wanted to glam up my look for a special occasion.
With pressed powder eyeshadows, I enjoy blending it in with a medium size stippling brush or with my own my fingers. With shades that fall warm, neutral, and more natural, they are more wearable for an everyday look. I love using browns to enhance my natural skin shade to create subtle contrast.
With this palette, I do wish that it came with small brush in case I need to apply a bit more on the go in case my hands get dirty.
I would highly recommend this palette to anyone with skin tones because these are universal shades.
Being priced well, the product is sure to last any user a year or more with everyday usage. I highly recomm
Remember to consider your eye-shape and how to work with it – not against it. What helped me the most was watching women who have similar facial features as me do their makeup online.
Let’s move onto eyeliner.
Fun fact: According to an article from CNN, Kohl plays a significant role North America and the Middle East for eyeliner. This popularity migrated to other regions, such as Arabia and became a staple in many cultures for reasons such as “aesthetic, medicinal, religious, and practical.” Ways people can make their own kohl include using “plants, tree sap, or stone and burn until they get soot to ground into powders with a mortar and pestle.”
- Eyeliner Tips – Pencil, Liquid, or Gel? – Eyeliner may seem tricky at first, but don’t be devastated – after all, everyone wants to achieve that perfect wing. Once you get the hang of it, you’ll be able to apply it in your sleep! The question of whether to use pencil, liquid, or gel eyeliner depends on what type of look you’re going for and what’s the most comfortable for you. Pencil is best for lining the waterline and is generally used for a soft, natural, and less painted appearance. Liquid is best used to create rigid and angular lines and is great for bolder looks. Gel is the most versatile of the three and best for eyes with more folds since it is less likely to smudge.
Top pick: E.L.F Smoky Kohl Eyeliner
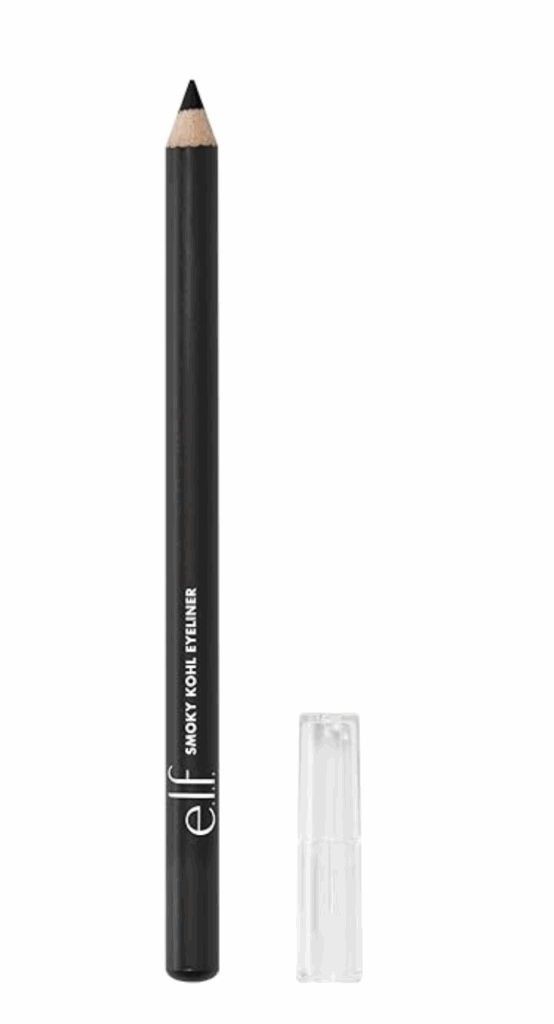
This was my first ever liner that I tried from the drugstore and it’s my favorite to fall back onto. Let’s discuss why.
I walked down the aisle of Target and purchased it because I prefer to work with pencils. Pencil liners give me greater stabilization and precision when it comes to drawing it on. Plus, if it messes up, easy to clean up and draw on again!
Outside of lasting throughout the entire day, it wears great on oily eyelids too if that is a concern you have.
I do wish that this product came with an end to sharpen it for convenience.
For people with sensitive eyelids, I recommend trying it on the back of your hand or even the area between your jawline and neck first.
For any people who are using makeup for beginners, I highly recommend sticking with a pencil like this instead of a brush tip first. It’s more forgiving and lasts longer than brush on ones.
- Mascara Tricks for Longer, Fuller Lashes – Mascara is the last step to achieving your flawless eye makeup look. False lashes are all the hype these days, and while they are definitely an option, I personally prefer to use mascara since it’s faster and more comfortable for everyday use. The choice is up to you, but don’t feel pressured to get false lashes or extensions. Good ol’ mascara can do the trick just fine! I recommend using techniques such as wiggling the brush back and forth while extending your lashes upwards and using at least three coats. Using an eyelash curler can also help.
Top pick: Essence Lash Princess False Lash Effect Mascara
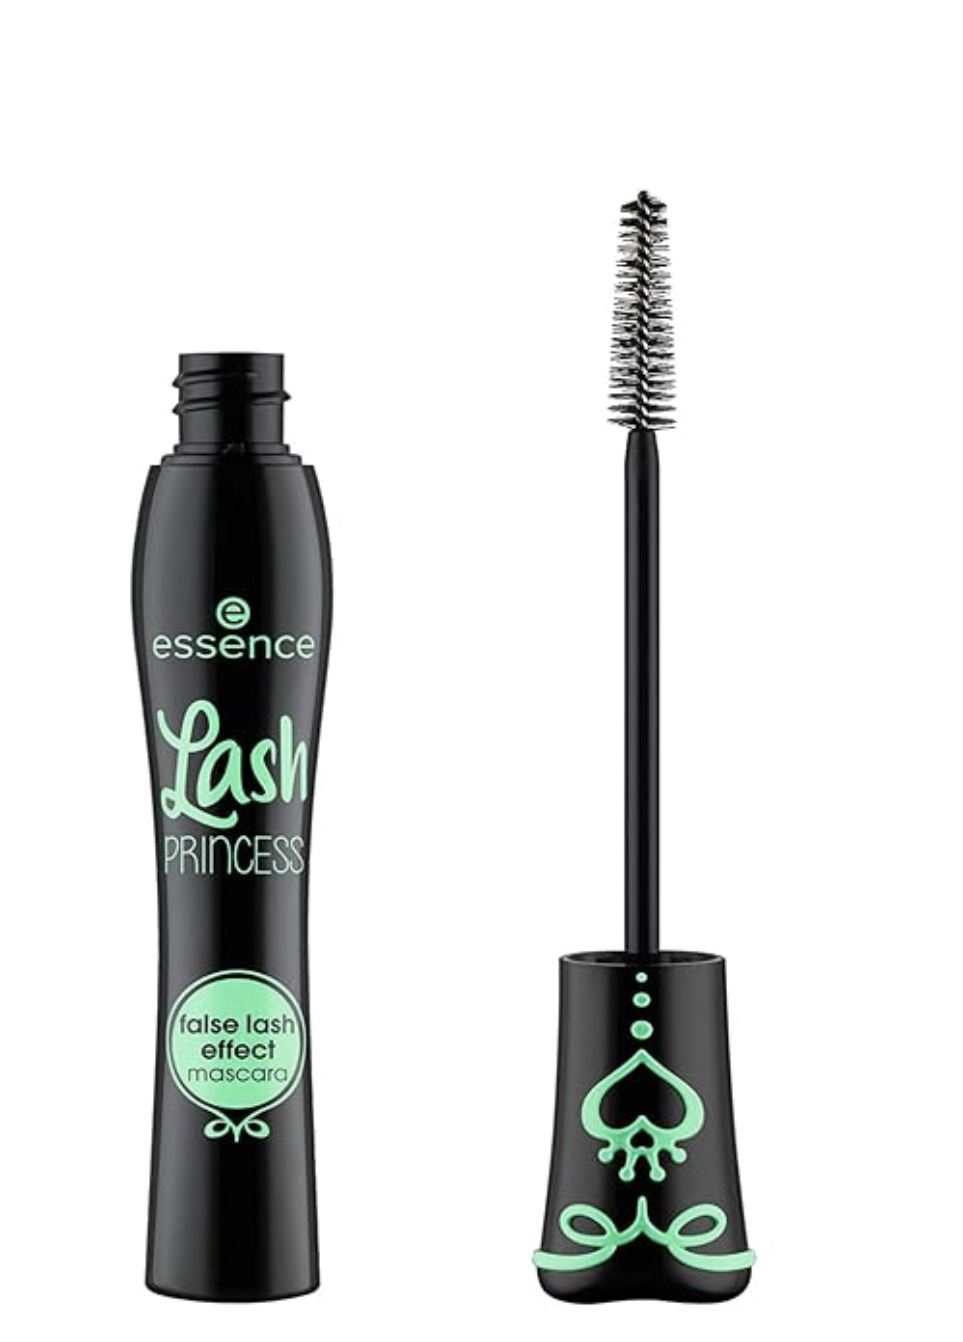
This brand has been around for decades and there’s a good reason for why. Their products – especially their mascaras – are durable and prove to be long-lasting.
I was recommended to purchase this by a store clerk who said this product is worn by people who are beginners in makeup to those who professionals. What I like most about the product is how the product glides quickly onto my lashes. It has enough boldness and hold without getting crumbly after applying.
For those who may be concerned with dramatic lashes upon first application, don’t worry – this product is also buildable.
I would say the only downside to this is that is dries out within a the first few months of usage like most mascaras.
For those who have lashes that are prone to clumping together or falling down quickly, this product may smudge.
I would recommend this mascara as the first one to try because it’s not affordable, but other various types of mascara from the line that may meet your needs.
For my girls with different eye shapes, find eye lash curlers that appropriately follow your eye shape. If it doesn’t sit well with your eyelid, it could potentially hurt you so be cautious of which curlers to buy!
Now to tie the look together, let’s look at how we finalize the makeup to make everything look cohesive!
Step 6: Adding Color to Your Face
- Blush Application Based on Face Shape – Applying blush based on your face shape can help enhance your bone structure and give a more elegant look. Here is what professionals recommend based on each shape:
- Round shape: Apply blush high on the cheekbones
- Square shape: Apply blush on the apples of your cheeks
- Oval shape: Apply blush on the outer corners of the cheekbones
- Diamond shape: Apply blush on the tops of the cheekbones
- Heart shape: Apply blush in a slightly curved line along the cheekbones
Top pick: Milani Baked Blush
I first got this blush because I used some from my mom’s secret stash. She’s had variations of colors of this exact brand for as long as I can remember so I knew that it had to be a good blush – which proved to be true.
Upon first application, it’s very sheer – but buildable. With a hint of sparkle inside of it, it gives my skin a natural glowy sheen without making sit like a two dimensional brick of color on my cheeks.
The packaging is great because it fits perfectly in the palm of my hand. However, I do wish that this brand can perfect it’s product to include a mirror inside of it for travel purposes.
For girls who worry about finding a natural shade, this line has multiple subtle shades to pick from which I love.
I would recommend starting out with this brand of blushes because the coverage is buildable and there is a variety of shades to pick from that won’t cost you a pretty penny.
Blush blindness is a terminology for overdoing the blush. I have been a victim of this so remember, ‘less is more’!
- Bronzer & Contour – Do You Need It? – Bronzer is typically applied to areas such as the jawline, forehead, and nose. It is used to shade the angles of your face, giving the illusion of a sunkissed appearance. Contour is typically applied to the hollows of your cheeks and along the jawline and forehead. It is used to emphasize the highlights and shadows of your face, creating a more defined and sculpted appearance. The two products may seem interchangeable, but they actually serve separate purposes and should be applied together in a way that compliments the other. Applying bronzer and contour isn’t necessarily an essential step, especially when it comes to everyday makeup. But they would be nice additions if you want a more full-fledged look.
Top pick: Physicians Formula Murumuru Butter Bronzer
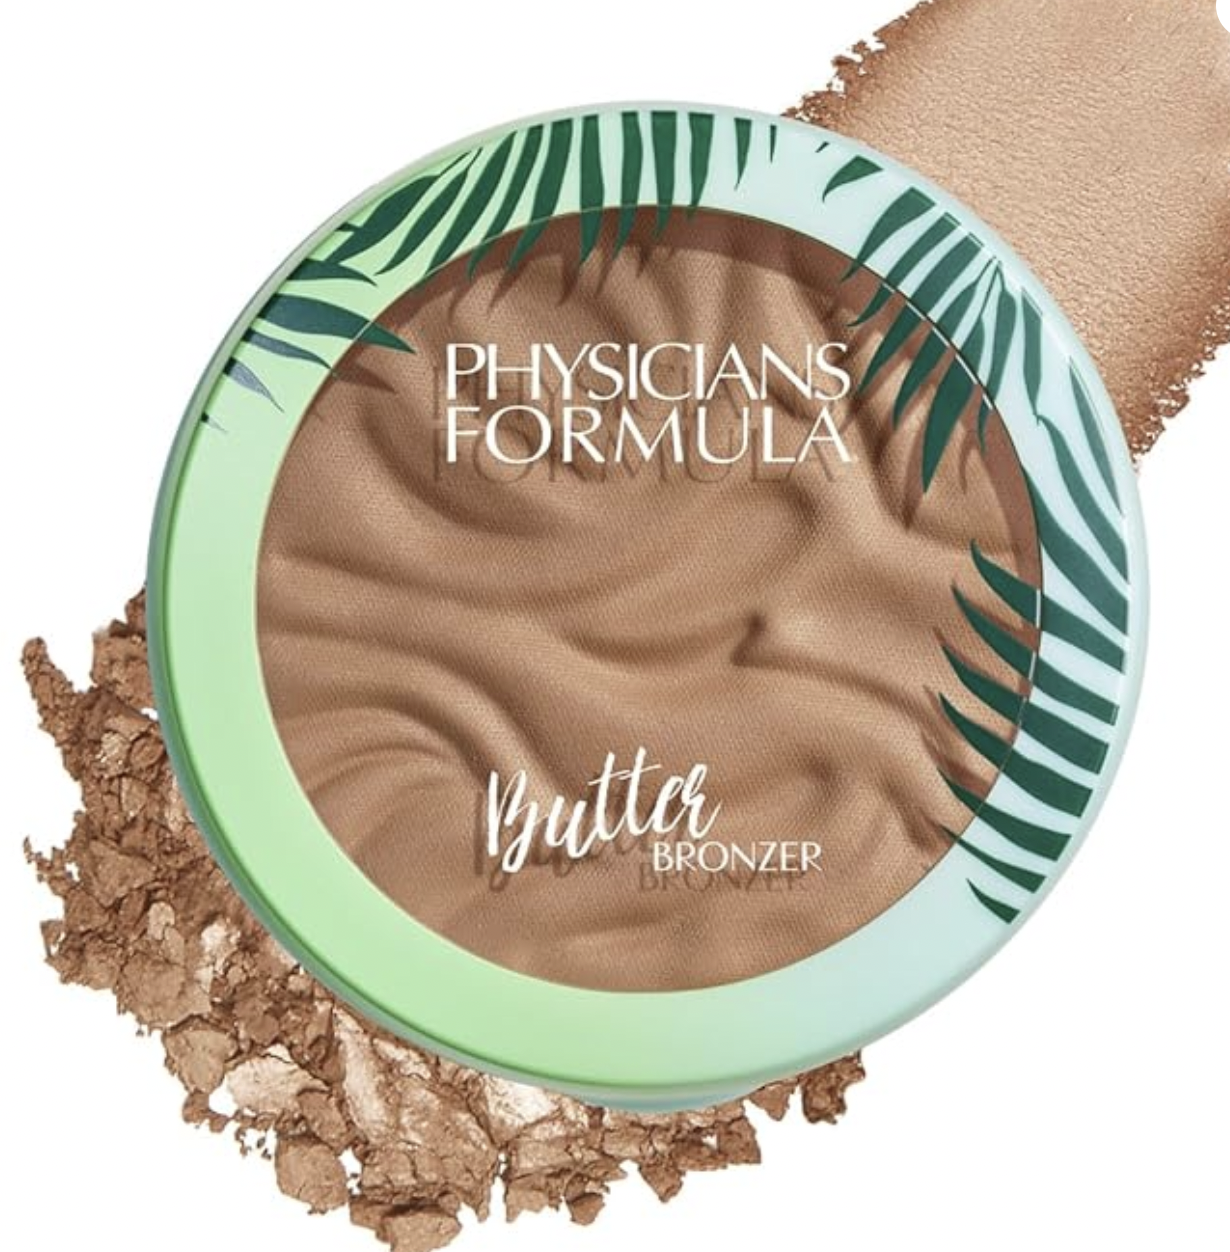
This bronzer is another product that I found in my mom’s secret stash of makeup. She told me that whenever she wants to liven up her face, this is her go-to product.
When I first purchased it, I noticed the selection of colors it had which is amazing. When first using it, I can tell that it helped to add dimension to the face in way that didn’t muddy my complexion. The feeling of the product is quite silky, not powdery in consistency.
Like mentioned for the blush, I do wish that this product could come with a mirror in case I need it on the go. However, this could be my own personal preference.
I do believe that this product is suitable for anyone who is dipping their toes into makeup for beginners. The product is lays on the complexion effortlessly and naturally sculpts your out the best features on your face without overdoing it.
Now, onto highlighter.
Highlighter Placement for a Subtle Glow – Have you ever looked at someone’s makeup and wondered how they got it to look so shiny and radiant? Highlighter was probably a large part of that. Highlighter is applied to the areas of the face where the sun catches such as the tops of the cheekbones and nose and gives your makeup a subtle glow without being too distracting.
Top Pick: Use your eyeshadow palette!
There is usually a light shimmer shade in your eyseshadow palette that can double over as a highlighter. I recommend trying that first before purchasing a separate one.
Now, the one thing that ties the entire makeup look together – are you ready? Lipstick!
You’ll Also Love: How to Build the Perfect Skincare Routine for Your Skin Type
Step 7: Lips – Finishing Touches
Fun fact: Lipstick has been culturally dark and the color red was favored in many cultures, such as the Aztecs (ritueldefille). From representing power to prosperity and good health, the color was sourced from crushed flowers and cochineal bugs to produce the color carmine – a rich and sensual red.
- How to Choose the Right Lipstick Shade for Your Skin Tone – Using a shade of lipstick that’s too muted for your skin tone can wash you out, while using one that’s too saturated can appear harsh and unnatural. To find a shade that is flattering for you, determine your skin’s undertone and choose accordingly. Lipstick shades that lean toward purple/blue look best on cool undertones, while shades that lean toward orange/yellow look best on warm undertones.
How I verified my best lip colors has always been at a makeup store. I prefer to visit my closest Ulta or Sephora store for them to match my undertones to lip products!
- Lip Liner vs. No Lip Liner – Lip liner is used to give your lips a more defined shape and enhance the longevity of your lipstick. It’s an easy way to elevate your look and appear more polished. I recommend using a shade of lipliner that is slightly darker than your lipstick and tracing gently into your desired shape. Remember not to overtrace your lips and keep the line on the thinner side. You can forgo lipliner if you’re in favor of a more natural look.
Top pick: Nyx Professional Slim Pencil Lip Liner
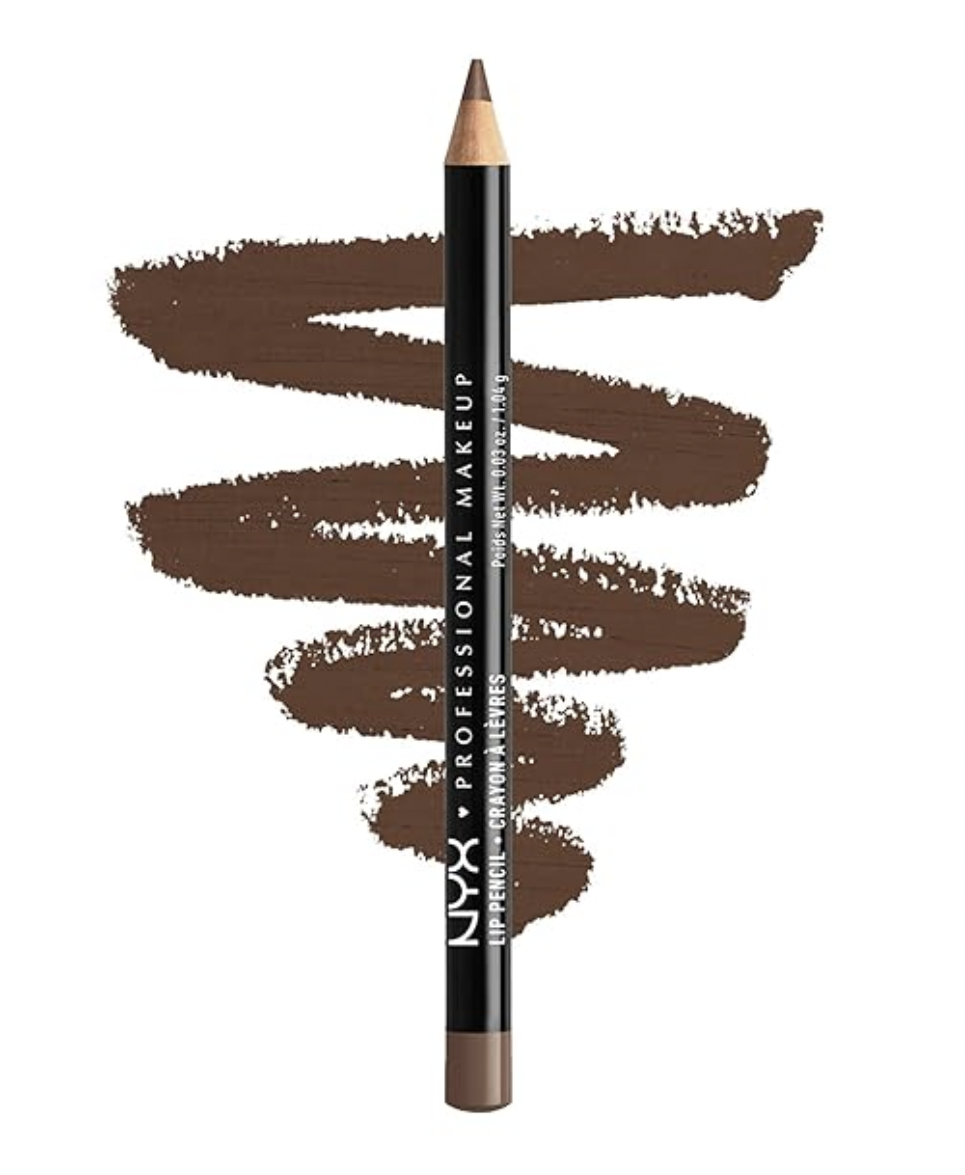
When I was starting out with makeup, this was one of the first lip pencils I grabbed—mainly because it was the most accessible brand I could find at any low-end makeup store. I figured, “If it’s everywhere, it must be good,” so I picked up a couple of shades to try.
What stood out immediately was how easy it was to use right out of the packaging. It came pre-sharpened and glided on smoothly with a soft, velvety texture that made outlining my lips effortless. The formula feels gentle—perfect for sensitive lips like mine—and the shade range includes surprisingly good dupes for more expensive, high-end liners.
My only gripe? Like the eyeliner pencil, I really wish it came with a sharpener cap for better convenience and hygiene. That said, it’s a small trade-off for the quality you’re getting at this price point.
Whether you’re building your first makeup kit or just want to try something new without breaking the bank, this little lip pencil is a great treat next time you’re at Ulta or your local drugstore.
Now moving onto everyone’s favorite lip product – gloss and lipsticks.
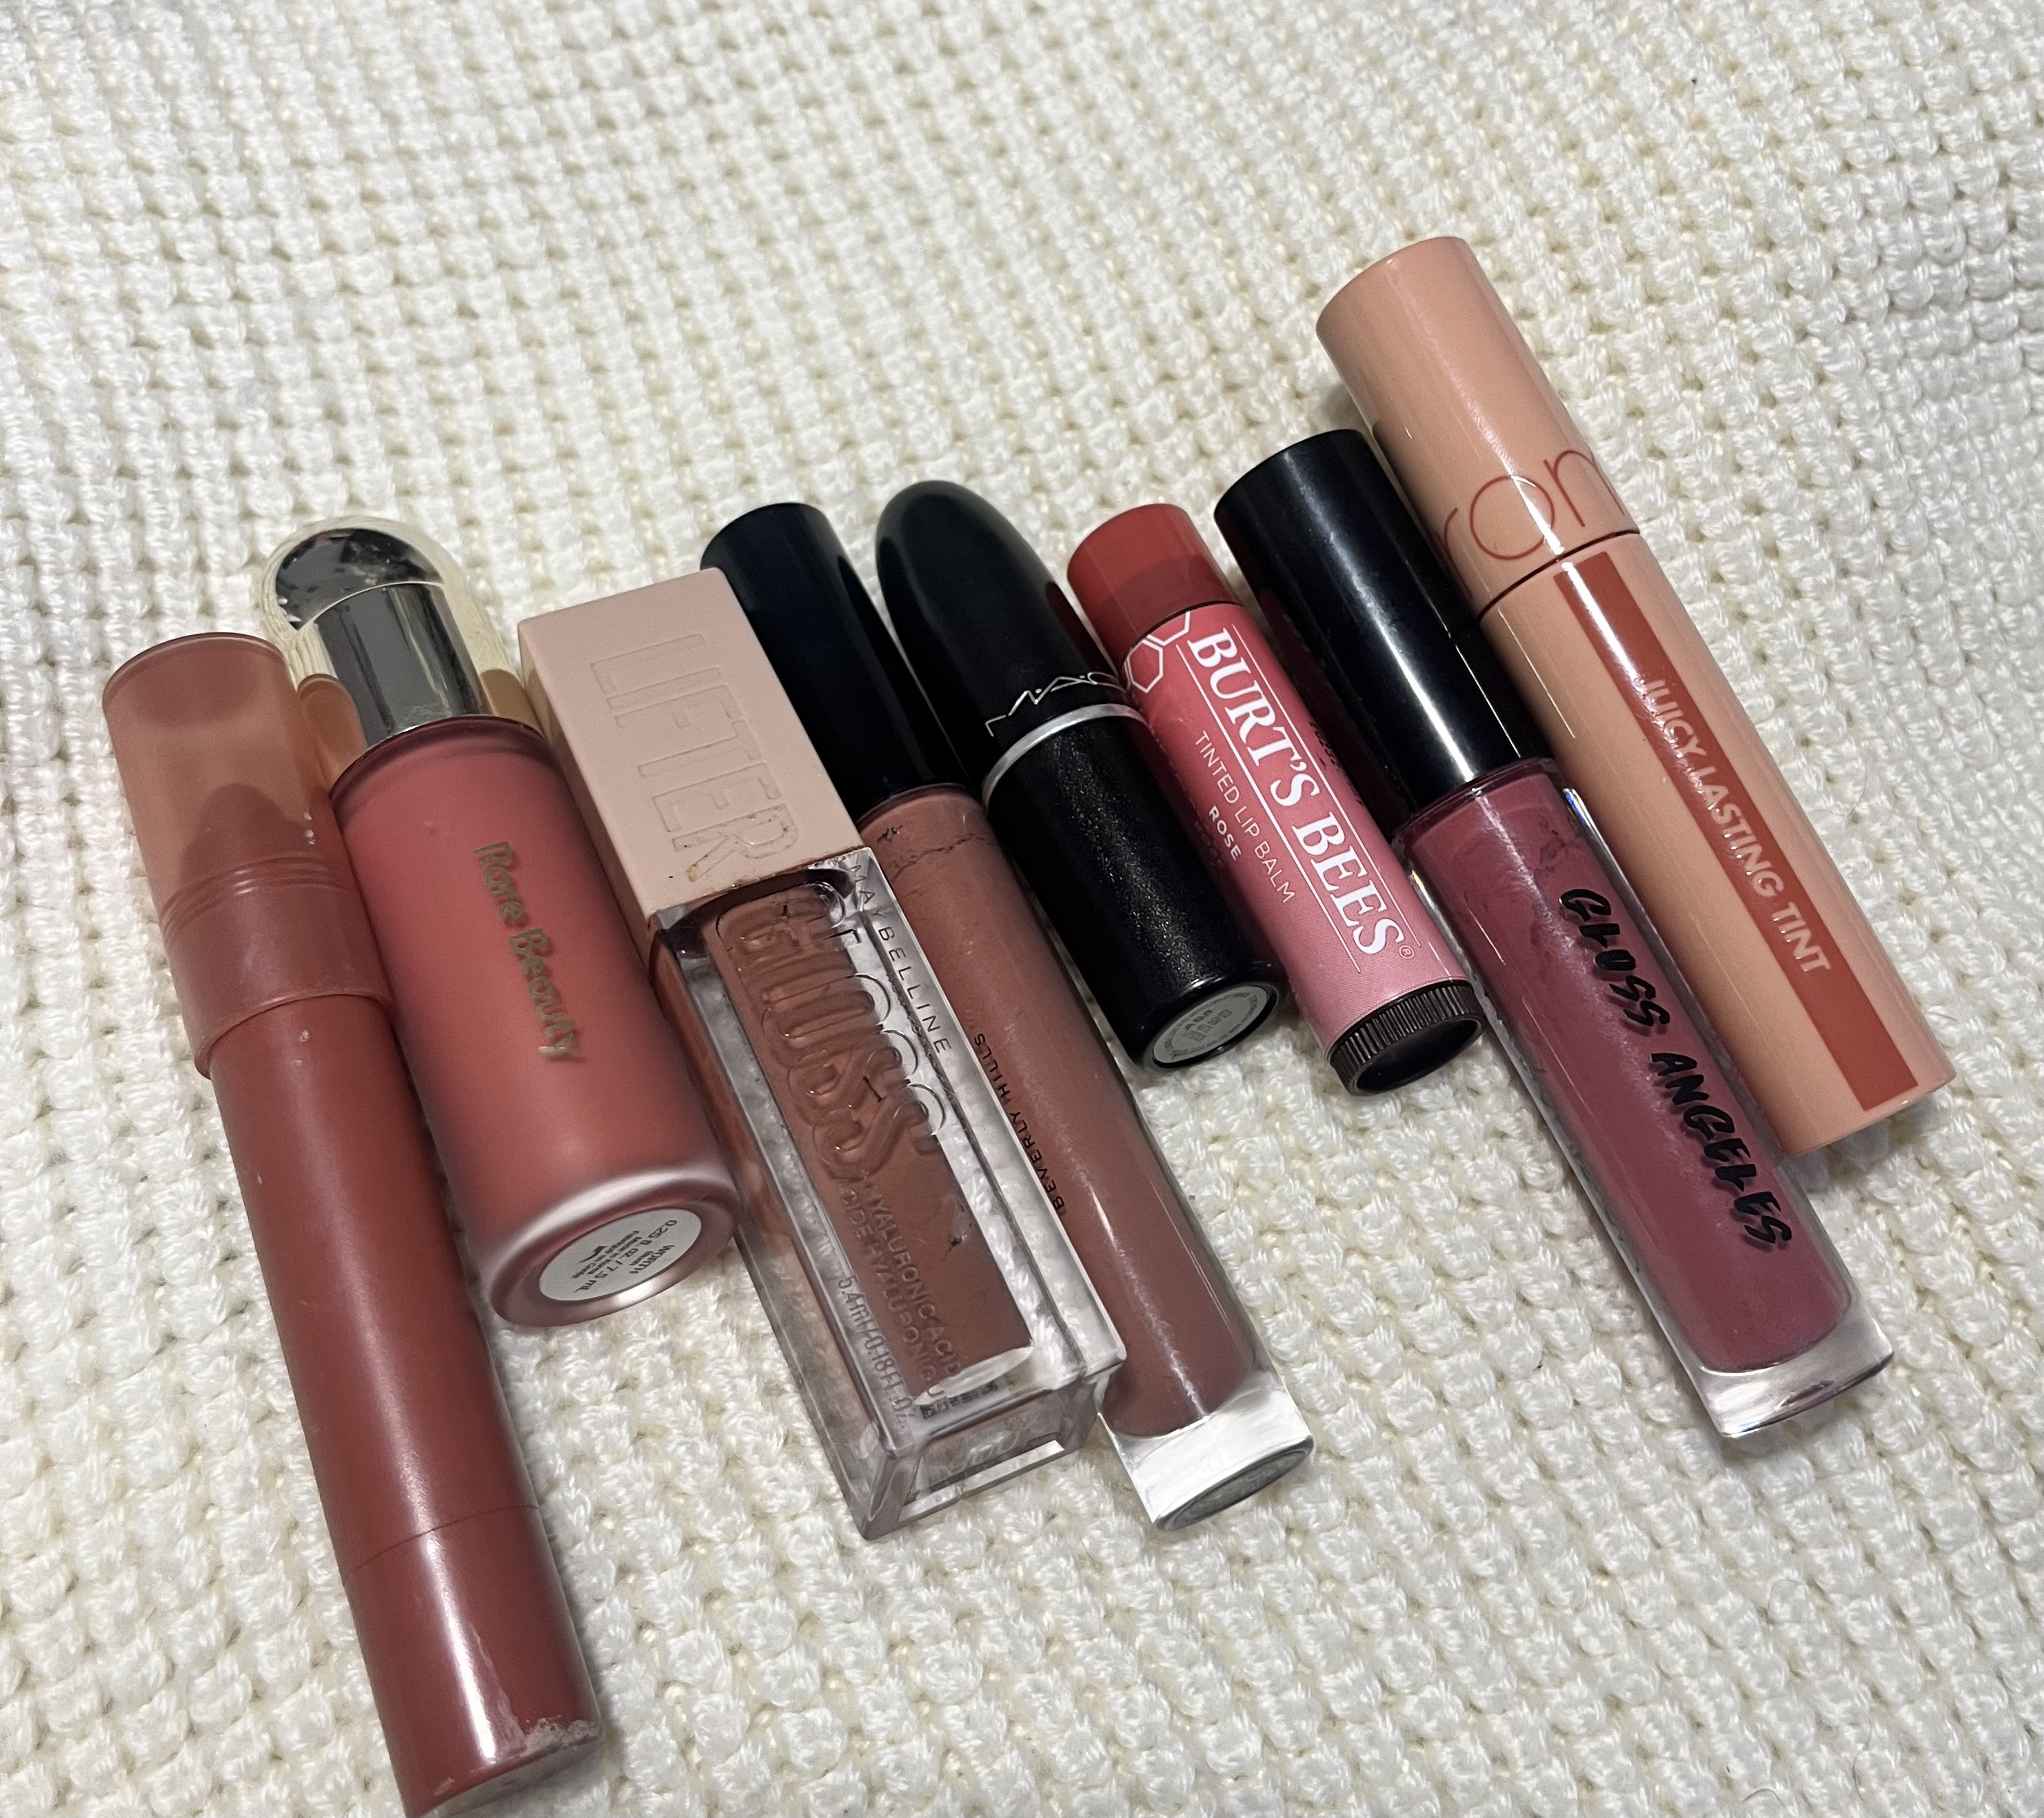
Gloss vs. Matte Lipsticks – Use gloss lipstick if you want to add an extra layer of shine and sparkle to your lips, and use matte if you want a more refined and velvety look. I will warn you, however, that most gloss lipsticks are not very long-lasting and you will have to re-apply occasionally. Gloss lipsticks also tend to give a less saturated tint. I personally use gloss for everyday looks and use matte for special occasions.
Top pick: Maybelline Color Sensational Lipstick
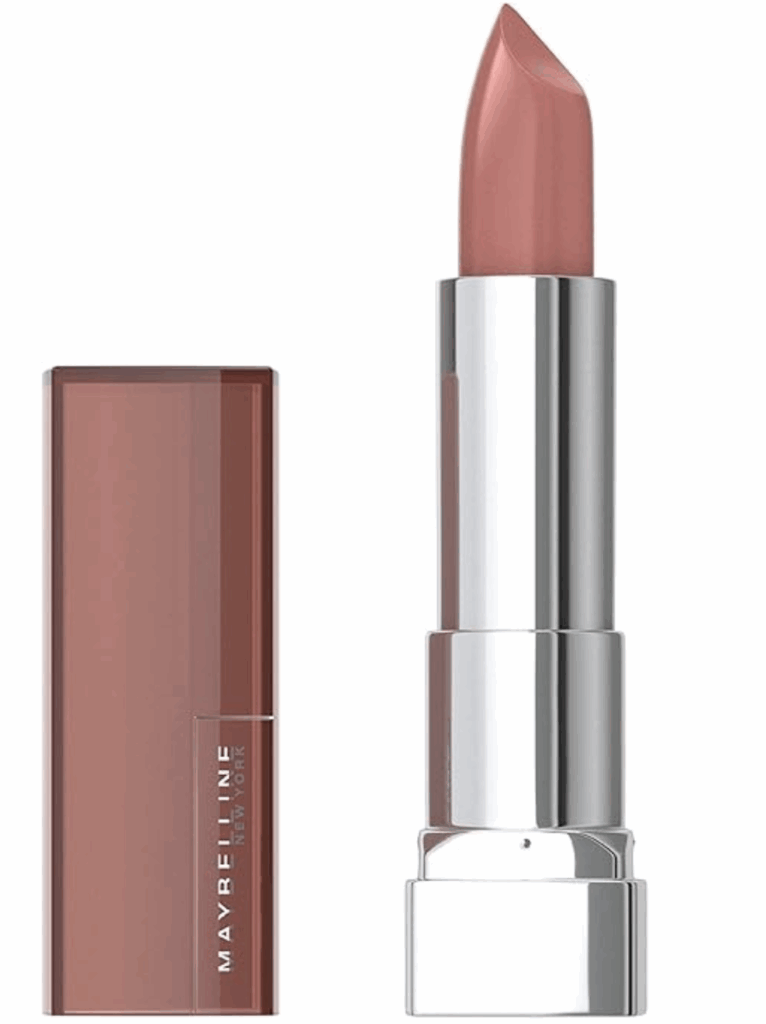
This was initially a hand-me-down gift from my mom when I was in high-school. I wasn’t allowed to wear much when I started outside of lipstick.
When I first swiped the product onto my lips, I could feel how rich and buttery the consistency was. Even as it passed looking naturally matte, the formula didn’t cling to any dry patches throughout the day.
With it’s wonderful shade range, I think that’s one of it’s best features. I do wish – however – for this product to be scent-free if possible.
For users with more dry lips, this product may not be suitable for all day wear. Swatch it on nearby skin first before applying directly to lips.
For it’s price and wide range of colors, this is a great pick-me-up product if you’re in a pinch or if you’re purchasing makeup as a beginner.
As for gloss, there is a wide sea to choose from. My top pick has to be NYX Professional Makeup Butter Gloss.
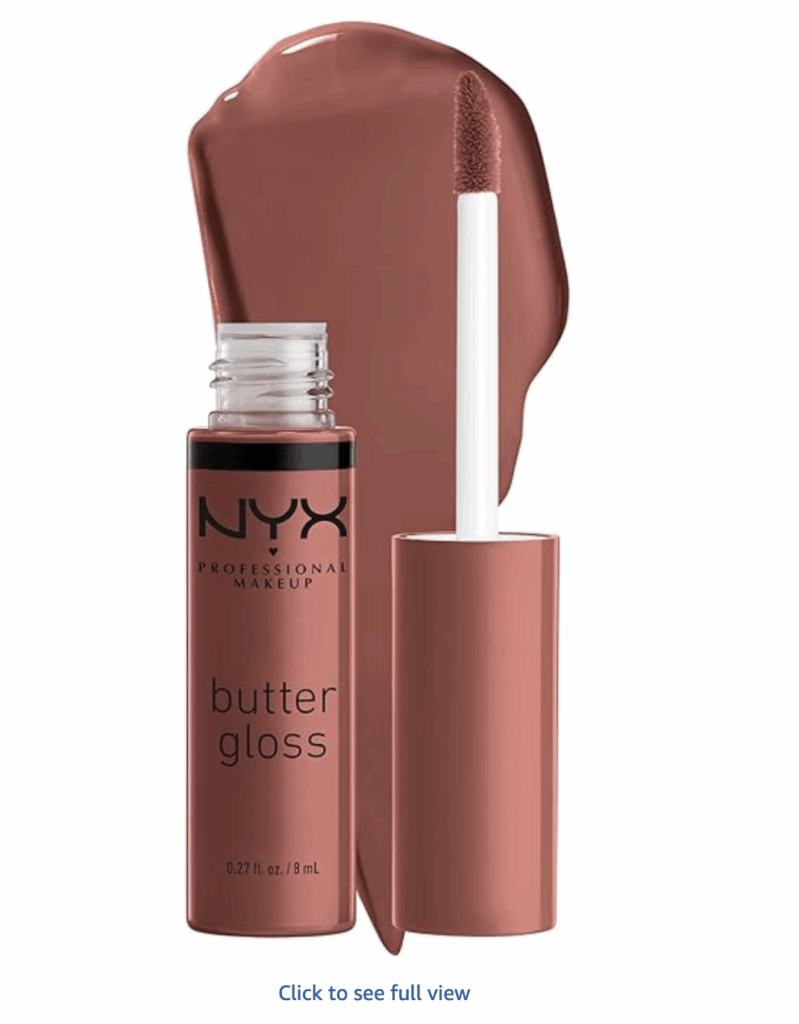
I bought this gloss the Maybelline lipstick because it was close within the aisle. I noticed that many of the shades were already purchased, meaning that it must be good – so I tested it out myself.
I like to line my lips a bit before using this gloss as a topper. The gloss slips on well and similarly to the lipstick – feels buttery. Yet another product with an incredible shade range.
The only downside that I could see this product improving on would be the sticky texture afterwards. There is a slight taste to it as well.
For those who are sensitive to smell and a lingering taste in lip products, consider this aspect first before deciding if you would like to purchase it.
Otherwise, I do recommend this specific brand of gloss to anyone would wants a medium color coverage of color.
Now that we’re reaching the end of our makeup routine, the very last step after powdering our face to set it is setting spray!
Step 8: Setting Your Makeup for All-Day Wear

- Setting Spray – Does It Really Work? – No, setting spray is not a myth. It can be extremely helpful in keeping your makeup looking fresh and radiant throughout the day. When looking for a setting spray, you might see that they come in two forms: matte and dewy. I would recommend matte sprays for those with oily skin since they absorb moisture and give a shine-free appearance. On the other hand, it might be better to use a dewy setting pray if you have dry skin since it will make your complexion look more bright and lively.
Top pick: Makeup Revolution Superfix Misting Makeup Setting Spray
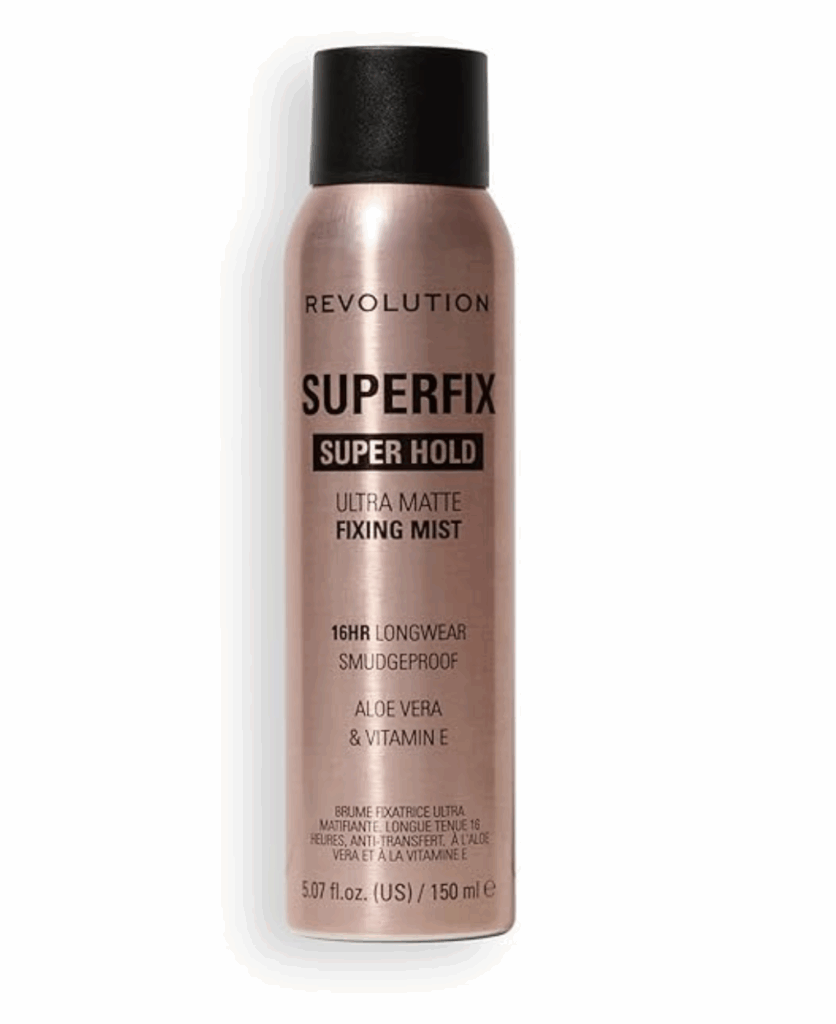
I was initially gifted a high-end setting spray, but I didn’t want to repurchase it for the price. I found that a lot of reviews stated that this spray was a perfect dupe for it so I had to try it out.
Within the first couple spritz of this product, there was subtle relaxing smell which I didn’t mind. I enjoy how the mist is quite fine and helps to mattify my skin to emulsify my entire makeup look together.
I do wish this product did came in a variation of sizes or a possible non-scented version in case anyone has sensitive-skin.
If you do have sensitive skin or are sensitive to fragrances, please test this on your next or hand first.
Outside of that, for the affordability of this product and quality of wear, it is a beautiful product that I recommend for most makeup beginners to purchase.
- Touch-Up Tips for Long-Lasting Makeup – If you’re going to a prolonged event or just have a long day ahead of you where touching up your makeup will be a struggle, it might help to use these tips:
- Carry around blotting paper to absorb your skin’s extra moisture
- Carry around a hydrating mist to rejuvenate your complexion
- Moisturize your skin prior to applying makeup
- Don’t forgo primer and setting spray
- Use formulas that are made to last longer
As much as there are correct ways to apply makeup, we must also go over common mistakes that beginners of makeup can easily avoid!
Beginner Mistakes to Avoid
- A common mistake makeup beginners make is applying too much product, resulting in a cakey and stiff appearance. Makeup should enhance your skin texture and natural features, not completely mask them. A tip to avoid this rookie mistake is to start with a small amount and build your way up.
As we discussed earlier, go with a light hand. You can always apply more, not take away – I’ve been a victim of this too many times.
- Another mistake that’s easy to make if you lack makeup experience is choosing the wrong shade of foundation. To avoid this, test the foundation on your skin prior to purchasing it, and make sure it blends in well. Remember to keep your undertone in consideration.
- The third mistake to avoid, and one that I was guilty of many times as a makeup beginner, was overdrawing my eyebrows. You can avoid this by keeping your ministrations light and small, using a shade that isn’t too overpowering, and only filling in spots that need it.
Since we are nearing the end of all my tips and tricks, let’s recap on everything that we’ve learned!
Final Thoughts
Makeup doesn’t not have to be overwhelming, however finding the best makeup for beginners can be challenging. With the right trials and errors, you can build the perfect everyday routine that can leave you with effortless results.
I hope that this guide and my experiences proved to be helpful and insightful for anyone out there who are looking to dip their toes into the fascinating world of makeup. Remember that the key is to ask for help when needed and a second or even third opinion is helpful.
Have fun with it and don’t be shy to start out experimenting with different products. If there are any products that you live by, remember to share them down below to help others out. I would love to hear from you as well.
You’ll Also Love: How to Build the Perfect Skincare Routine for Your Skin Type
FAQs
How do I choose the right makeup products for my skin type?
- Oily Skin – Choose oil-free and matte products
- Dry Skin – Choose dewy products that hydrate and rejuvenate the skin
- Combination Skin – Choose water-based, natural makeup
What’s the best way to remove makeup without damaging skin?
- Step 1: Use a cotton pad with micellar water or oil to gently remove eye makeup
- Step 2: Remove makeup from the rest of your face with the same means
- Step 3: Wash face thoroughly with a facial cleanser to remove extra residue
- Step 4: Apply a moisturizer to hydrate the skin after cleansing
Pro tip: You should never solely rely on makeup wipes to remove makeup. It may look like they get the job done, but in actuality, they leave a lot of harmful residue on your skin. The best way to make sure your skin is makeup free is to wash thoroughly with makeup-removing cleanser.
You’ll Also Love: Workaholic Tendencies? How Women Can Unwind and Recharge This Women’s Month
‘’This article contains affiliate links to Amazon. As an Amazon Associate, I earn from qualifying purchases. This means that if you click on a link and make a purchase, I may receive a small commission at no extra cost to you. This helps support the site and allows me to continue providing helpful content. Thank you for your support!’’


Plugin designed by RofiTech
Leave a Reply